How To Tint Your Brows At Home — & Not Regret It
Photographed by Caroline Tompkins.
Folks with fine brows will tell you: Sometimes a fresh threading appointment or tweeze isn't enough to achieve an arch comparable to celebrity favorites like Zendaya, Kim Kardashian, and Lizzo. Sure, brow mascaras and pomades come in clutch when we need a quick fix, but tinting is especially useful when you want a full, bushy brow that won't wash off at the end of the day.
If you've been committed to tinting and shaping your brows pre-COVID-19 but haven't been able to get them professionally touched since, the good news is you can enhance them at home. In fact, according to celebrity brow expert Joey Healy, the effects can look super natural when done right. Ahead, we got all of his top tips for your next DIY brow tinting.
AdvertisementADVERTISEMENT
Invest in the right products.
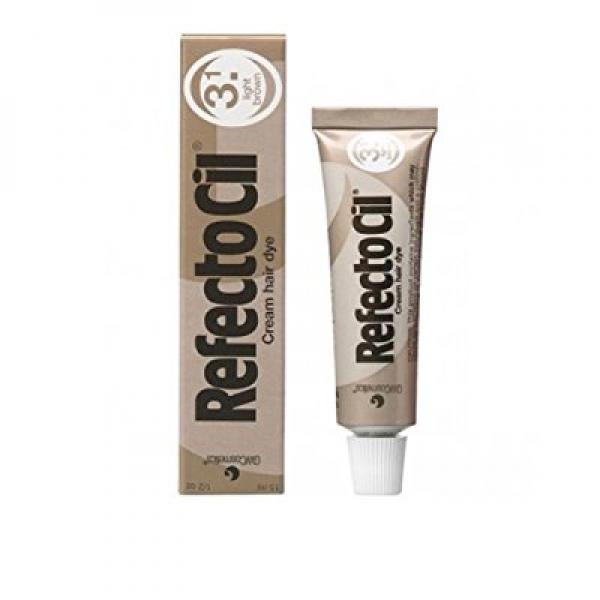
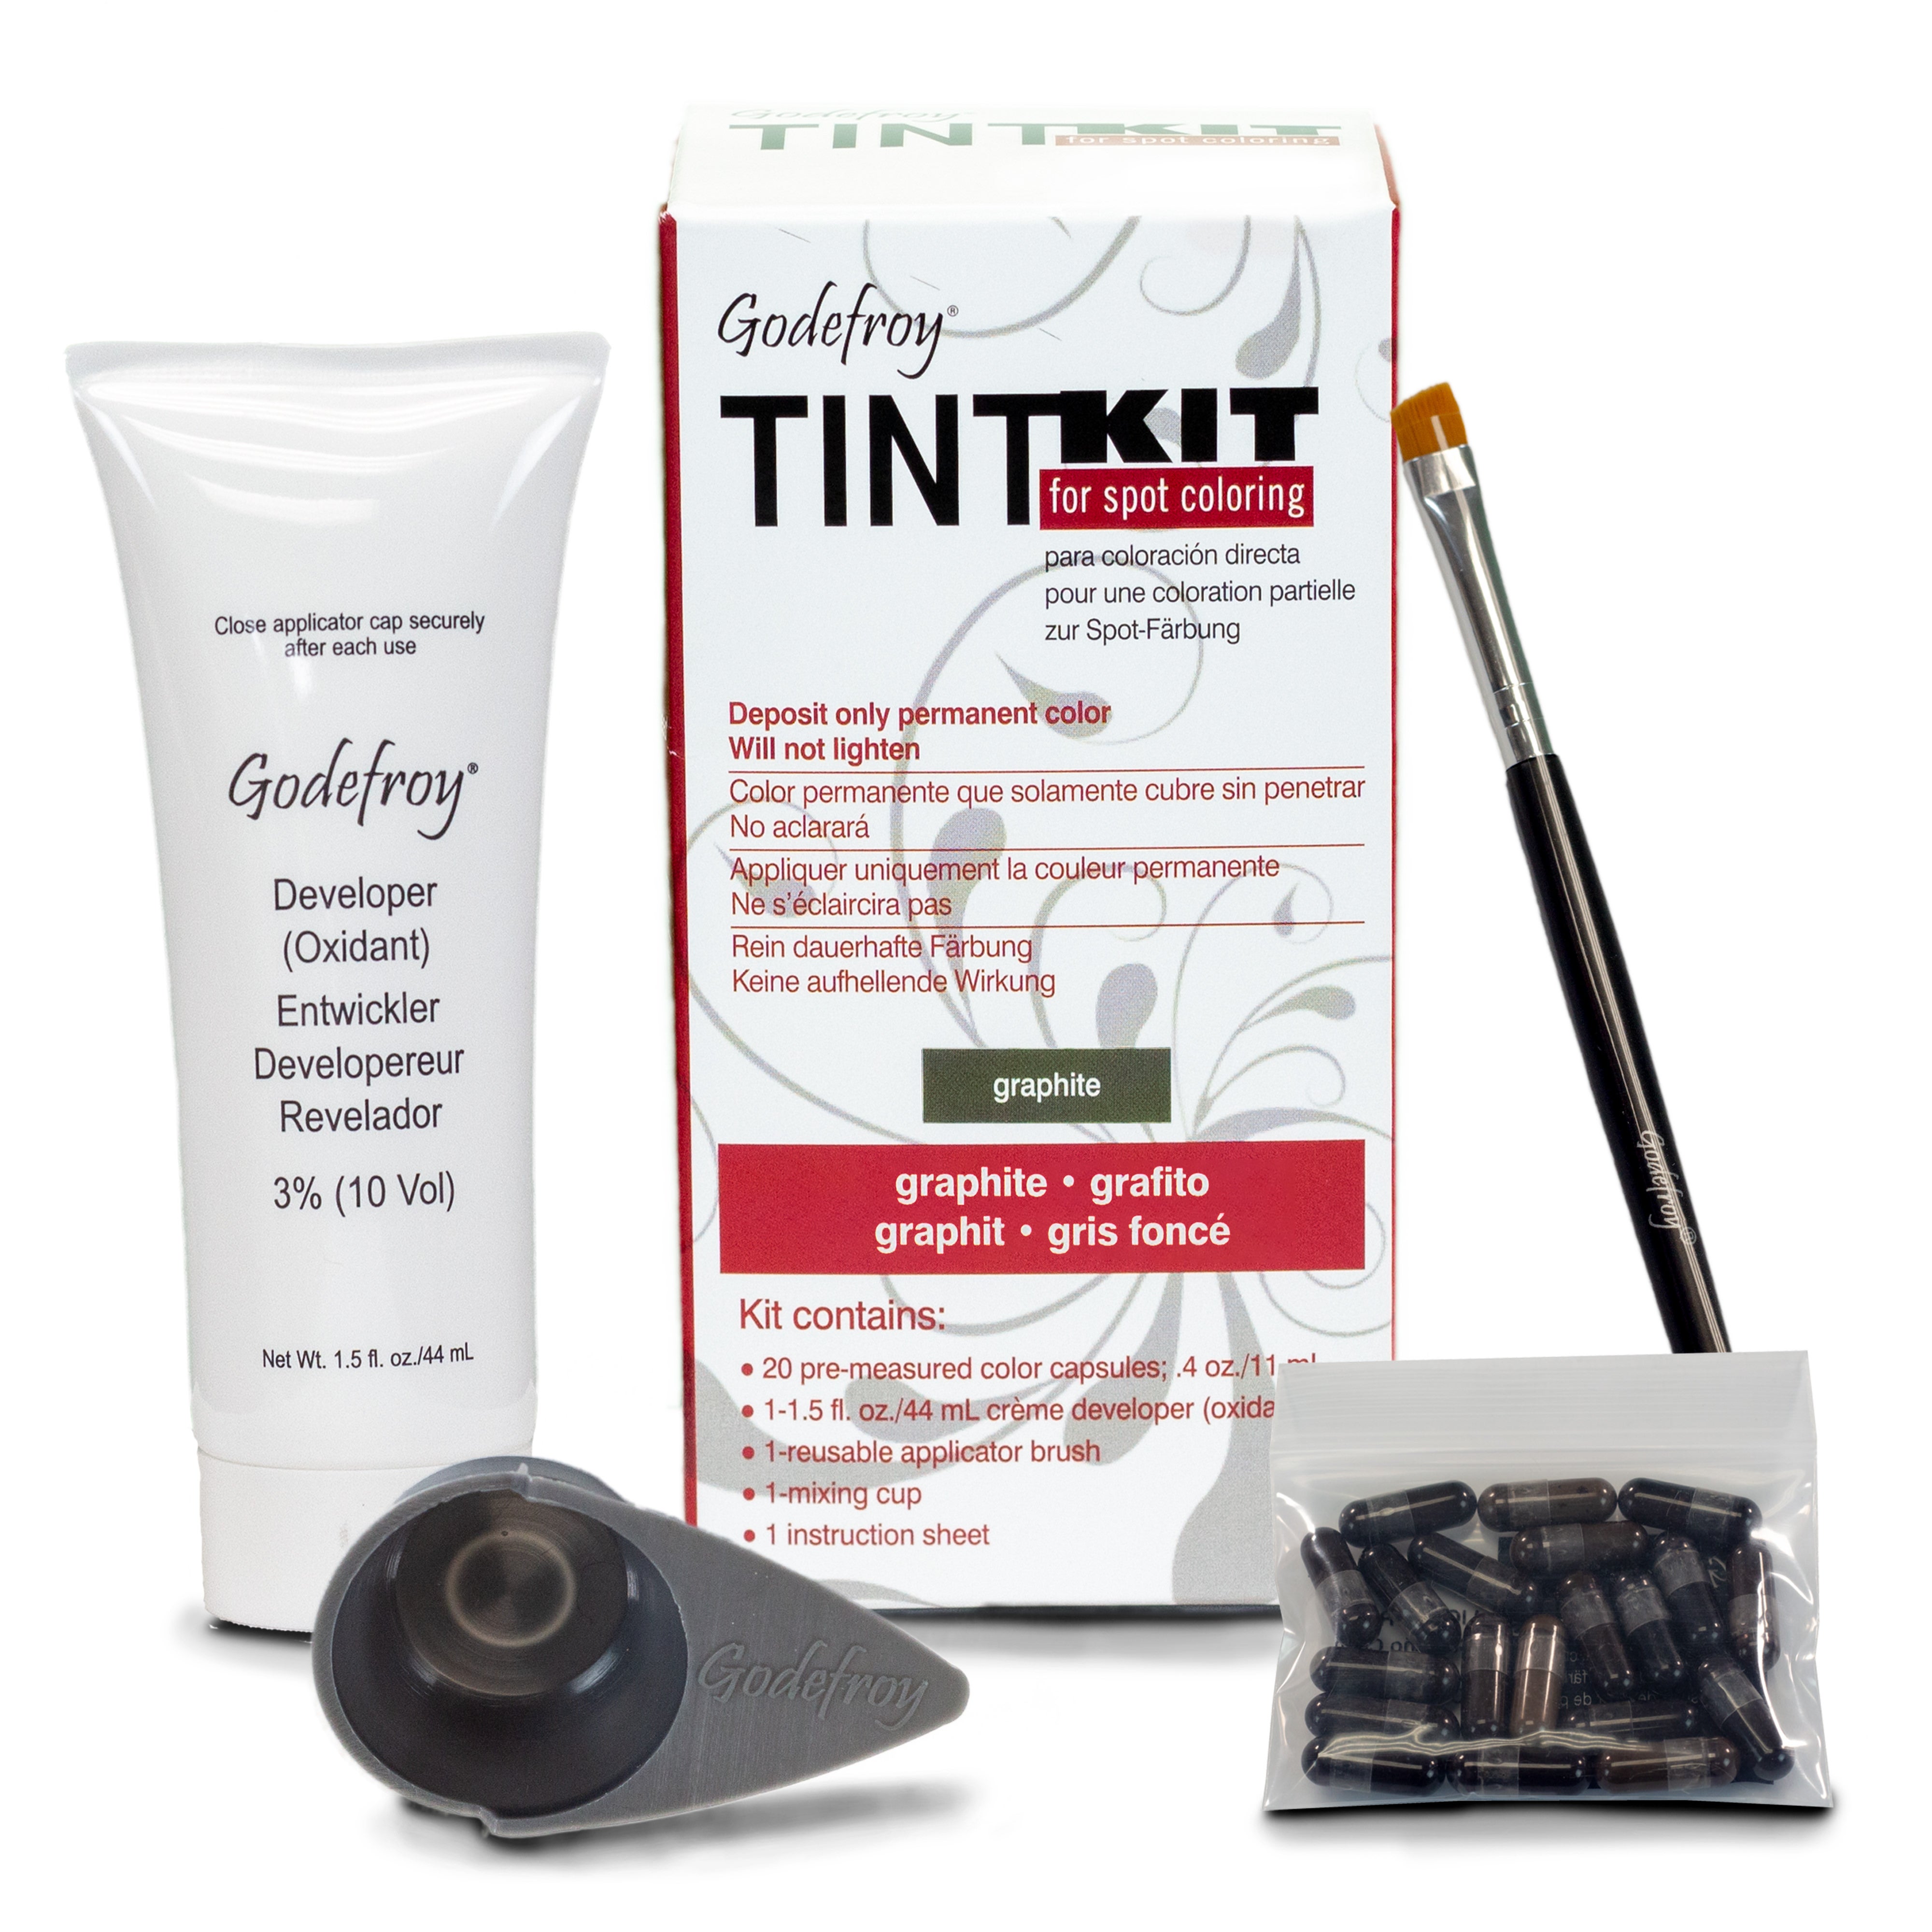
According to Healy, having the right materials in your arsenal is the first step to ensuring you end up with brows you'll want to show off. This means getting the right dye and activator to start the process. For his clients, Healy recommends the RefectoCil system on Amazon. "I would consider buying more than one color so you can create a custom blend," he says. "If you aren't sure of what shade to get, I would always go lighter." Healy suggests avoiding black-colored tints so you don't end up with "Sharpie marker" brows. "You can always make your brows richer if you need to," he says. "It's much harder to lighten dye that is too dark."
Once your kit is in hand, it will most likely come with a cream activator and dye. Healy says you should combine the two until it forms a pudding-like consistency before sweeping it on your brows.
Precise application is everything.
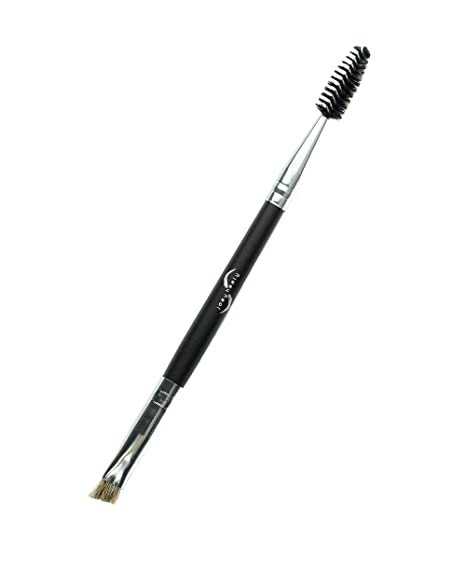
It might feel intuitive to smear the dye all over your arches and call it a day, but Healy prefers a more gradual process. "I start by applying to the areas that need it the most," he explains. "For most people, that's usually the front and tail of the brow." Healy says to sweep dye onto the center of the brow last, as that part is usually the densest and develops fastest.
While each kit will have specific instructions for timing, Healy says that closely monitoring how long you keep the product on will help you achieve customized results. "I check-in every five to 10 minutes to see if the color adheres, and then I add or remove as needed," he says. "It may take a few rounds for you to build up the color gradually, but that will ensure the most natural, long-lasting results."
AdvertisementADVERTISEMENT
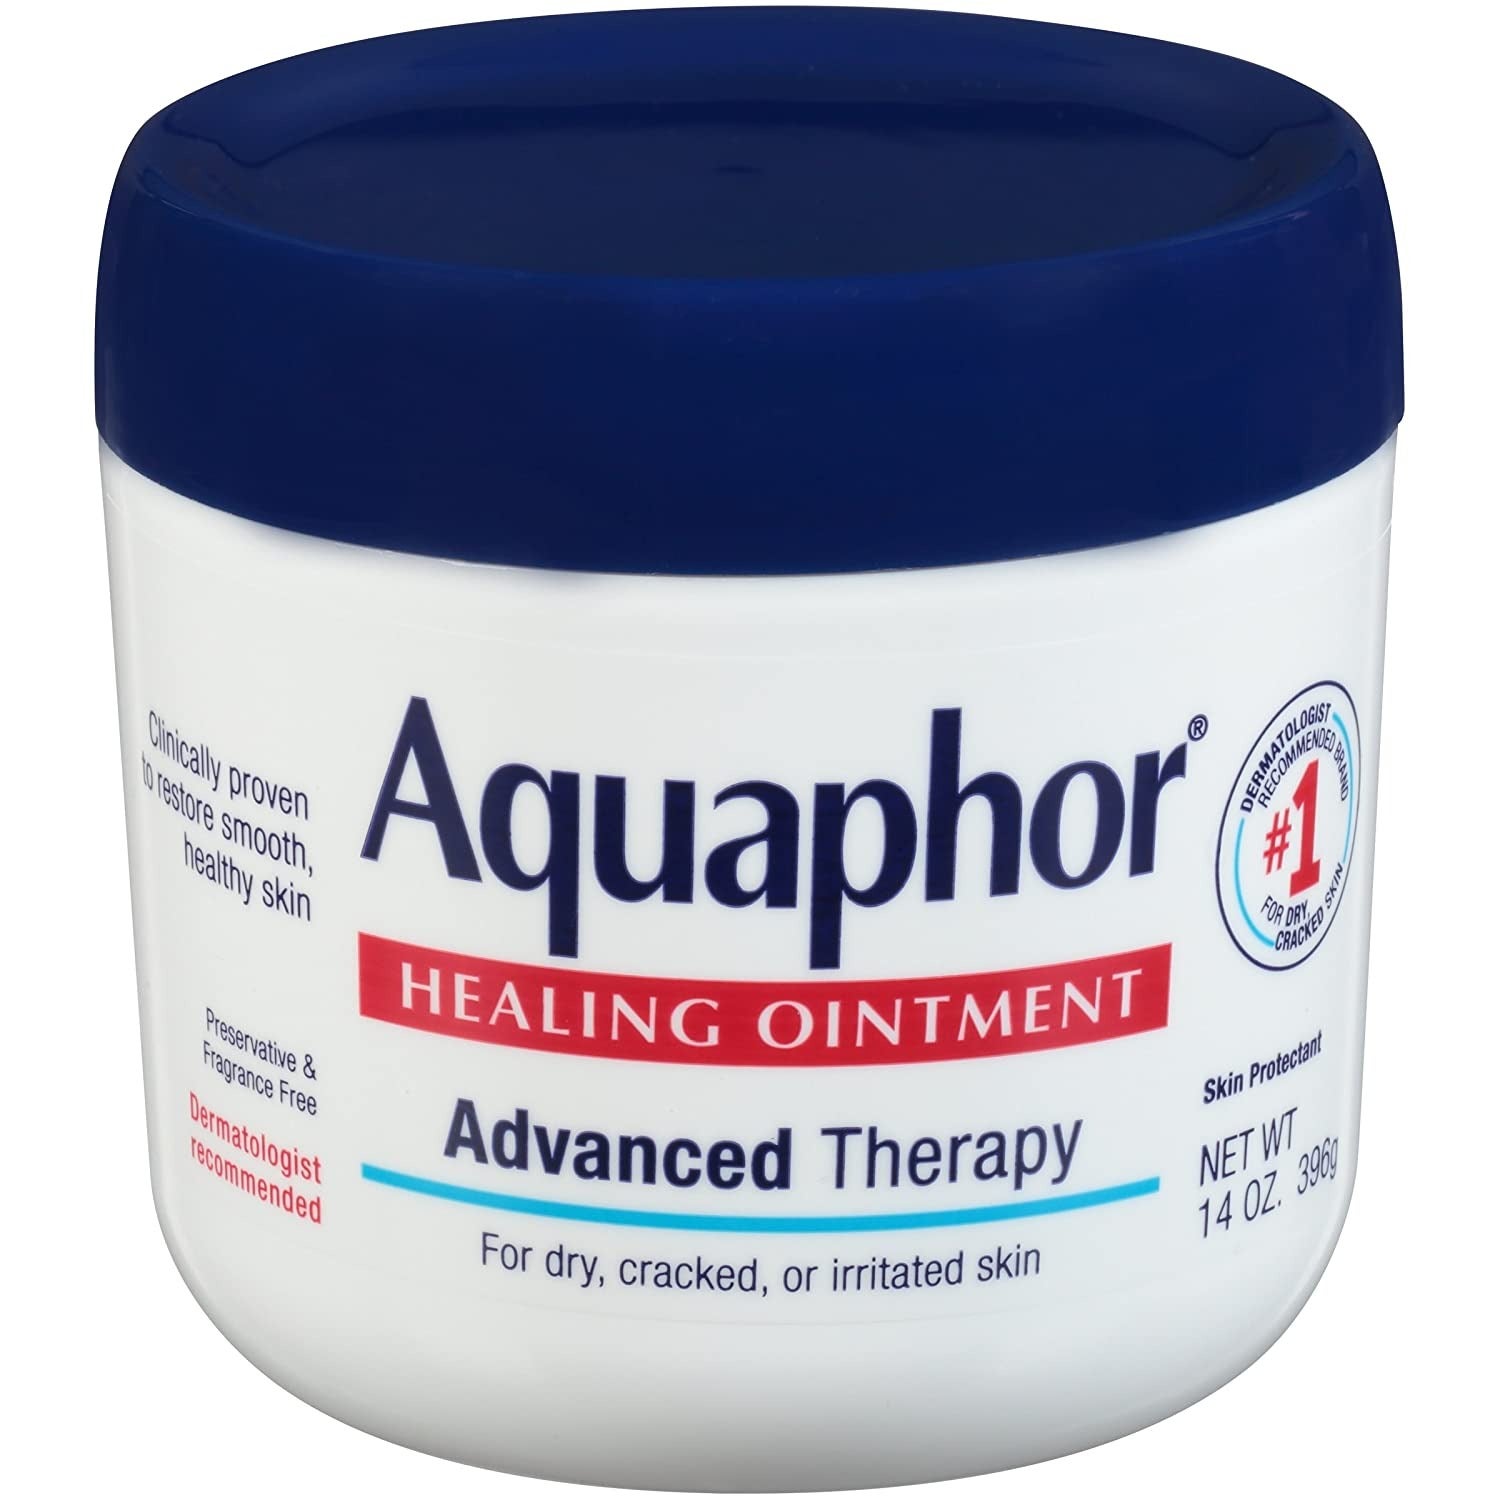
If you're concerned about dyeing your skin, rub a bit of Aquaphor or Vaseline around your brows as a barrier. "It's usually not the worst thing to leave behind a shadow, because it may typically wash away pretty soon," he explains. "But if you're new to the process, getting ahead of staining is simple."
Healy's main tip for treating a stain: Don't aggressively scrub your brows. "This may expedite the hair shedding process, which you don't want," he says." Instead, dip a cotton swab in dish soap or cleanser and lightly massage the area until the color lifts from the skin. Most importantly: Make sure neither the dye nor the soap come into contact with your eyes.
Patience is key.
While Healy, like most professionals, would — above all — recommend you leave brow services to the experts, he does say that the right amount of patience can land you salon-quality results. "It's nice to see a professional if you can," he says. "But if not, assess your skill level and act accordingly."
But efore diving headfirst into dyeing your brows, Healy does urge that you do a patch test to avoid irritation or an allergic reaction. He also says to go easy on yourself if the brow-tinting process takes some getting used to. "It's one of those things that can't cause much irreversible harm if you take your time," he says. In the event that your brows come out too dark, Healy says time will handle that, too. "The brows will usually lose intense color payoff within 24 to 48 hours if you leave it on too long," he says. "The end results will be well worth it."
AdvertisementADVERTISEMENT


