


I Got A “Thickening” Haircut — & I’ve Never Loved My Fine Hair More
Photo: Courtesy of Louise Whitbread.
Thick, luscious lengths are not something I’ve been blessed with. Instead, my natural hair is fine, poker-straight and often falls flat. Don’t get me wrong, I’ve tried every mousse, volumizing mist, curling iron, and dry shampoo to give a bit of height to my roots, but my hair doesn’t play ball.
While I love its silky-soft texture, it struggles to hold a curl — my carefully done Dyson Airwrap curls fall out within minutes — so much so that I often resort to the highest heat settings on my curling iron and finish with an unhealthy amount of hairspray. I’ve learnt to strategically pose in pictures with all my hair brought in front of my neck to give the illusion of a full-bodied blowdry. The back of my hair is not my business.
AdvertisementADVERTISEMENT
For this reason, every time I visit my hairdresser, I sheepishly explain why my strands are fried. She trims away all of my split ends, and the cycle begins again. Dry shampoo makes a daily appearance in my routine to provide as much root lift as possible, so my hair often feels dry and looks matte, rather than the super bouncy, glossy pictures I have saved in my Instagram hair inspiration folder. But one thing I haven’t considered until now is how the right haircut could be the solution to adding more oomph to my hair. That’s until I discovered the thickening haircut, dreamt up by hairstylist Scott Ade — and the man behind my new look.
What is the thickening haircut?
Ade — based at Larry King salon in London — created the thickening haircut in 2016 with one goal: to create the illusion of fuller hair, particularly for those with fine or thinning tresses. Inspired by his wife’s fine hair and the lack of reference images of celebrities and models available to women with similar hair types, he developed a textured, layered style that’s a modern update to the 1970s shag — and has since invaded salons worldwide.
“I started doing these styles that are a bit more shaggy, with short layers around the front because that’s often the part of fine hair that’s the weakest,” Ade told me, explaining his technique. “The idea was to take those parts and cut them shorter, basically cutting them before they become weak,” and eventually break off.
AdvertisementADVERTISEMENT
I couldn’t wait to sit in Ade’s chair. Since my hair was long and all one length, his creation involved cutting short, thick, face-framing layers around my face, with diagonal layers — rather than straight ones — around the back of the head to lend dimension. He then cut what he calls ‘invisible layers’, by sectioning the top layer of my hair and skimming down the middle lengths underneath. This, Ade told me, would lend the appearance of thicker, fuller hair with lots of mussed-up texture.
Lastly, Ade decided to cut face-framing layers by making my bangs thicker using the feathering method. Now, it sweeps effortlessly across the tops of my cheeks. It’s a very ‘70s look, with shaggy layers and textured, tousled waves.
Ade explained how he then tends to slice layers through the front and the sides to encourage texture, width, and a fuller-looking head of hair. Essentially, achieving volume upwards is impossible, he says, so he adds volume widthways, which gives that full-bodied look, especially around the front of the face.
What’s it like to get a thickening haircut?
Photo: Courtesy of Louise Whitbread.
Photo: Courtesy of Louise Whitbread.
Admittedly, while I gave Ade full creative control to snip away, I nervously sipped my coffee as he began chopping off inches, doing my best to trust the process. “If you've got fine hair, people are sometimes scared when you start slicing into it to take weight off the ends,” he explained. “But what you're doing is building up these shorter pieces, which act like internal scaffolding.”
AdvertisementADVERTISEMENT
Amazingly, he created my new look without any heated styling tools, just a Dyson Professional blowdryer and a brush. (And two decades of skills, of course). Once he’d finished cutting in wider bangs with shorter front layers and the invisible layers at the back of my head, he rough-dried my hair, had me flip my hair upside down, and spritzed the Pureology Style + Protect Instant Levitation Volume Mist, $32, through my roots.
When finished, my hair looked fuller, thicker, and, dare I say, voluminous. But it’s not weighed down with product or sticky with hairspray like before. Instead, it feels soft and natural, and I walked out of the salon feeling confident that I could recreate the final look at home.
What’s the thickening haircut like IRL?
You might imagine shorter, choppier layers would be difficult to style, but it’s quite the opposite. I’ve followed Ade’s steps: rough-drying my hair, flipping it upside down, spritzing a texturizing mist through the mid-lengths and ends, then using a large round brush to smooth big sections. I find I’m left with a tousled, effortless wave rather than tightly-wound curls that end up limp and lifeless like before.
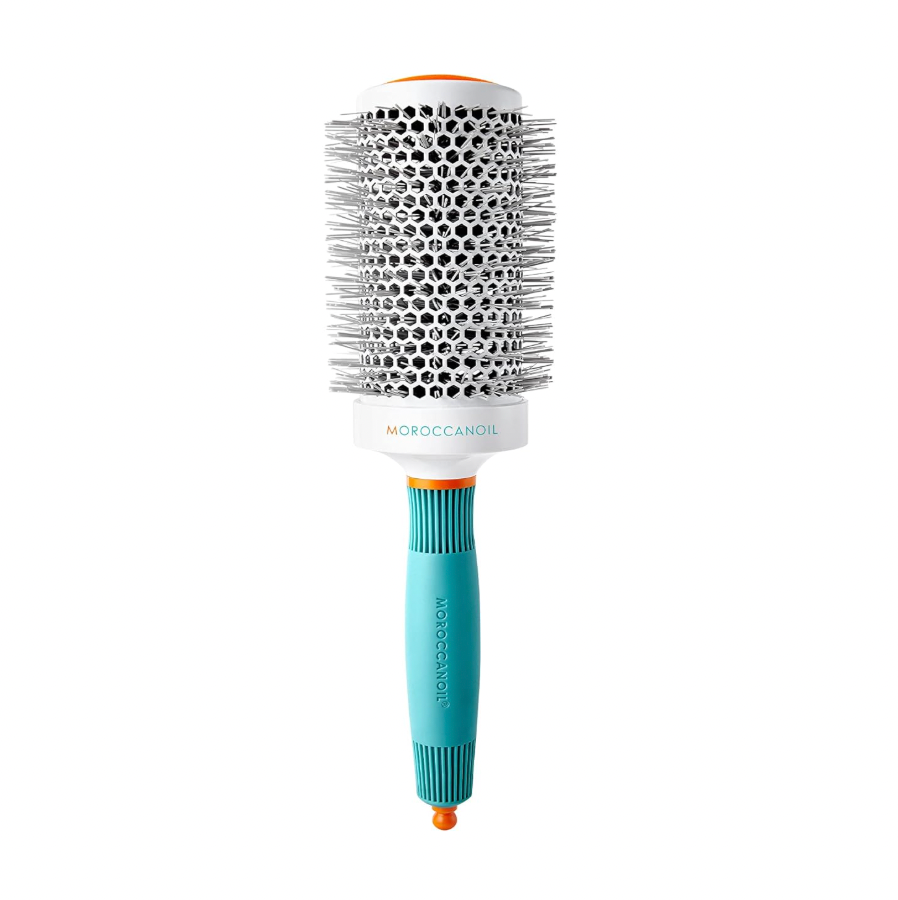
I love how low-maintenance and instantly transformational this cut is with all the practicality I need from my hair — including being able to throw it up in a claw clip when it’s hot or I’m running late. I even have enough length on my bangs to tuck them behind my ears, but best of all, I’m using less heat than ever when styling it, simply relying on my blowdryer and a decent brush. (My go-to is the Moroccanoil Ceramic Round Brush 35mm, $30.) Honestly, I suspect the thickening haircut will leave me with healthier strands in the long run.
AdvertisementADVERTISEMENT
How do you style a thickening haircut at home?
Photo: Courtesy of Louise Whitbread.
Photo: Courtesy of Louise Whitbread.
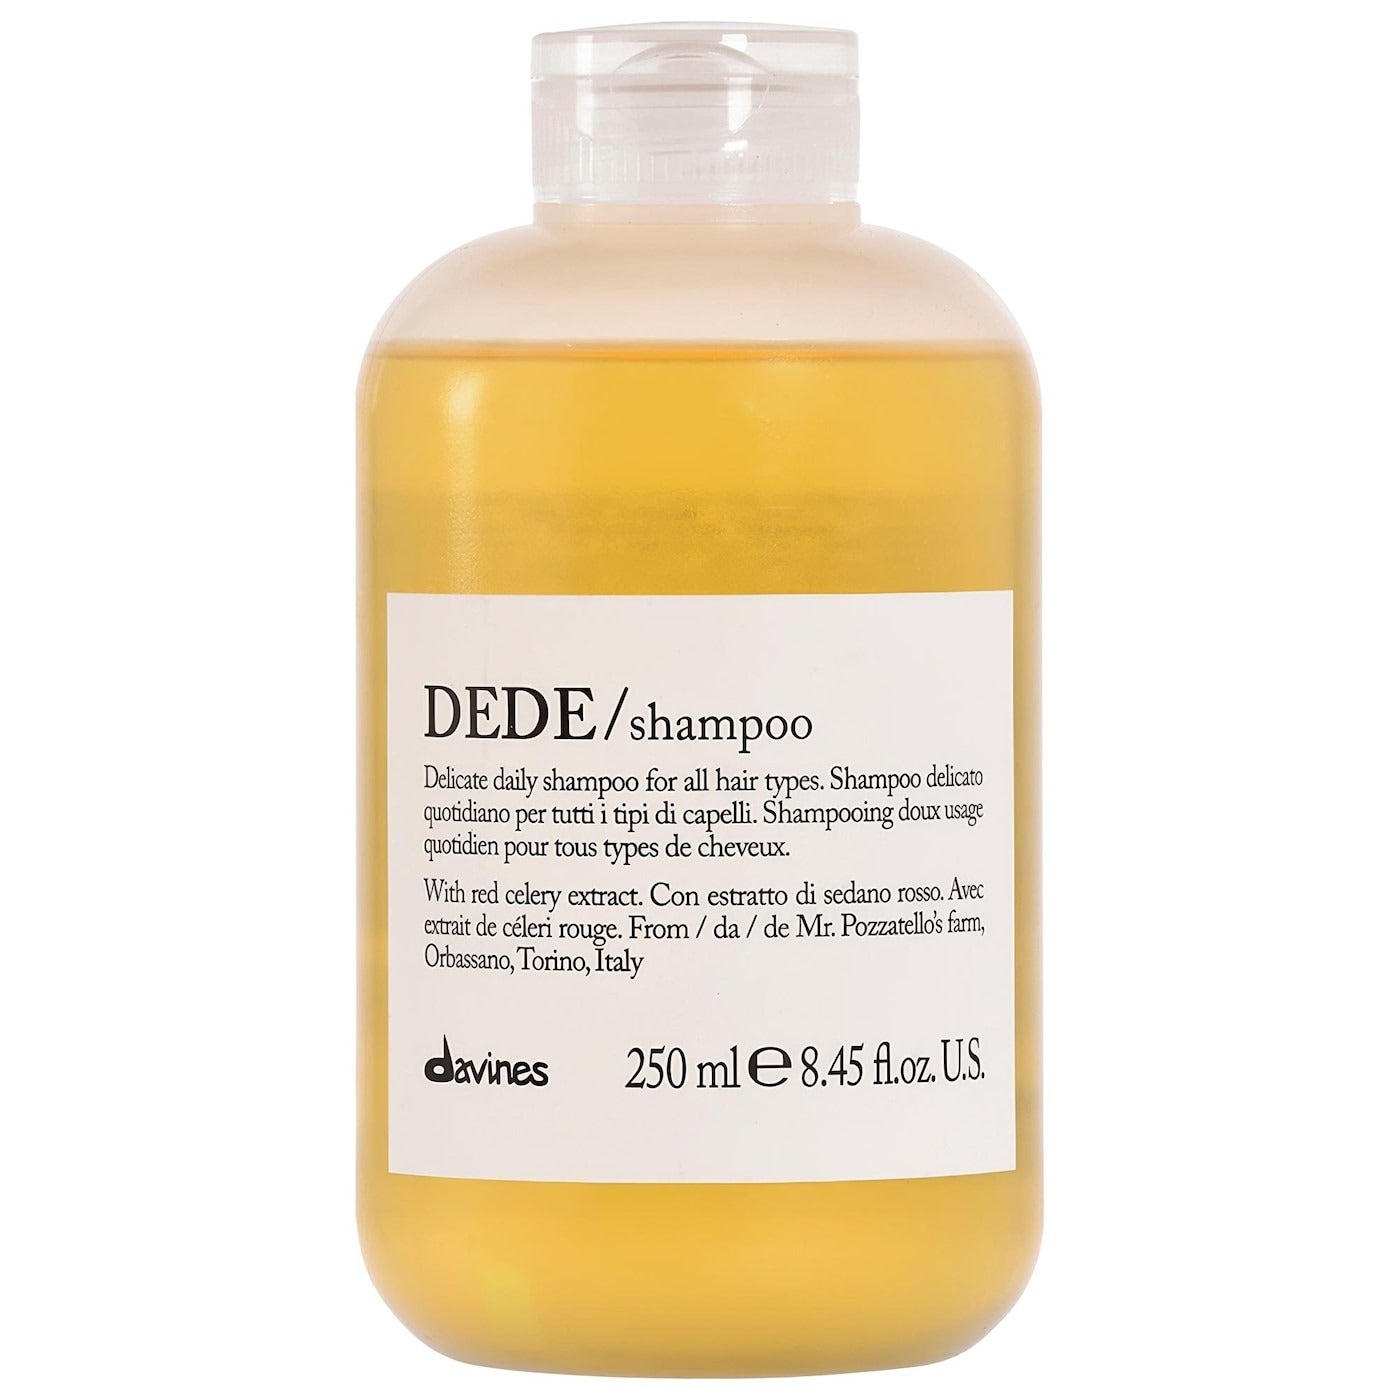
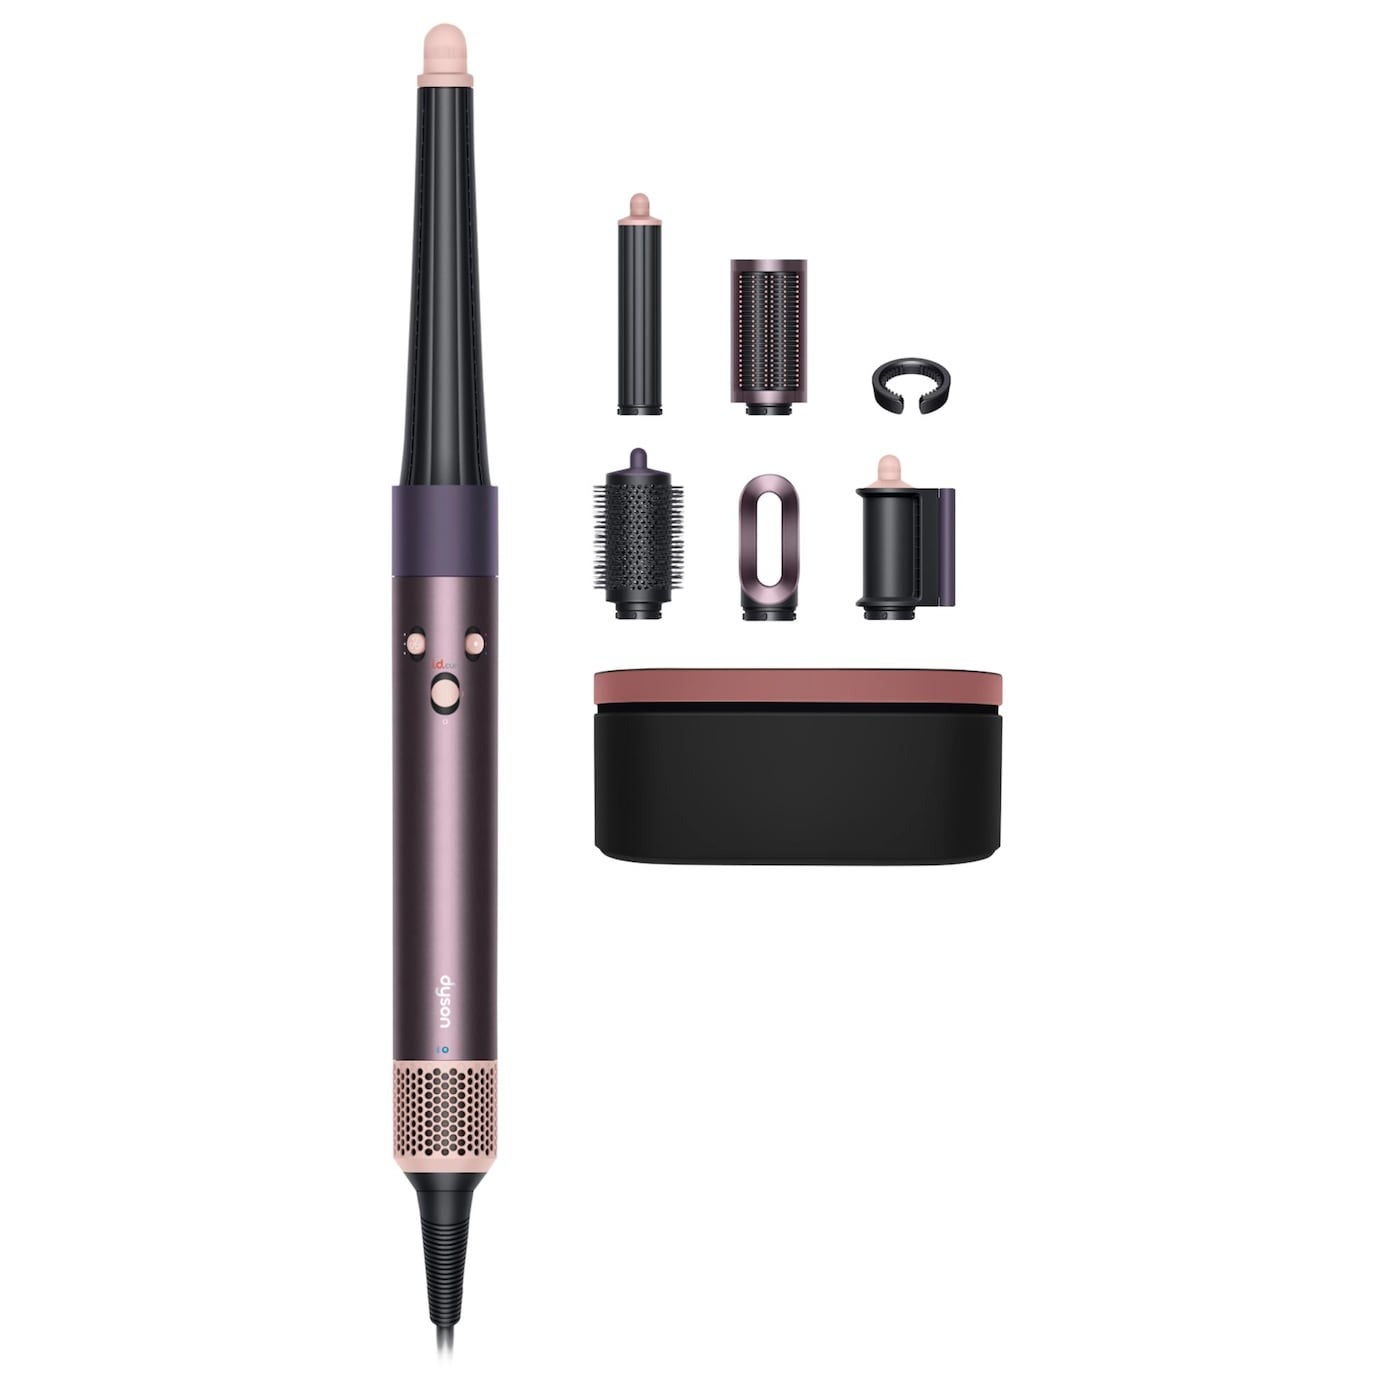
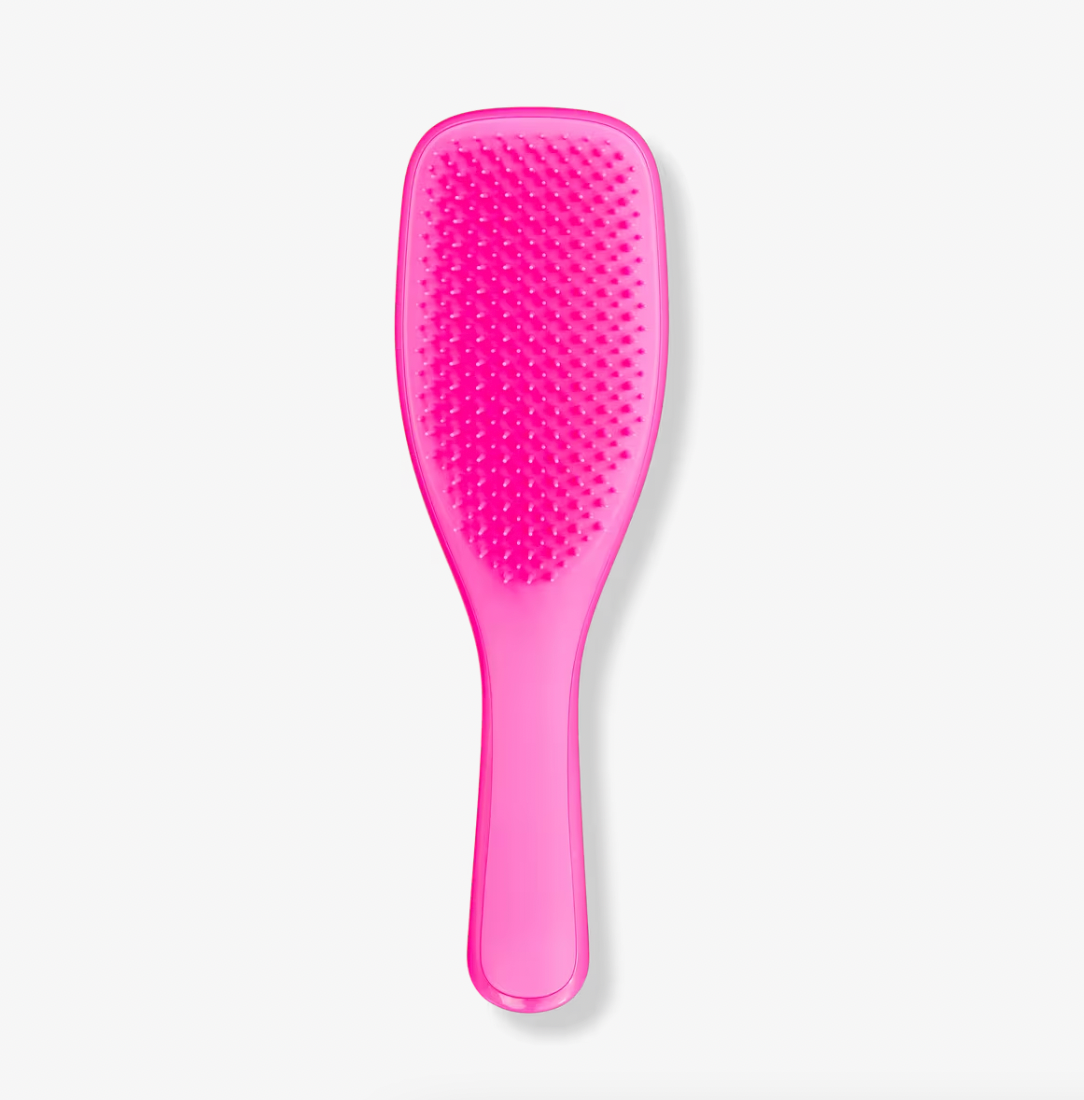
It’s a regular occurrence for me to leave a salon loving a new 'do, then inevitably feel frustrated trying to achieve the same effect at home. I just don’t have the skills or patience for a smooth, sleek blowdry with different brushes, clips, and pin curls. However, just as Ade promised, his thickening cut is very low-maintenance. I wash my hair every couple of days with Davines Dede Shampoo, $37, and rough-dry it upside down with my own Dyson Airwrap, $599, using the blowdryer attachment. Once dry, I brush out any knots with a Tangle Teezer The Ultimate Detangler, $16.99, which is the only hairbrush that can glide through clumps of wet hair without dragging.
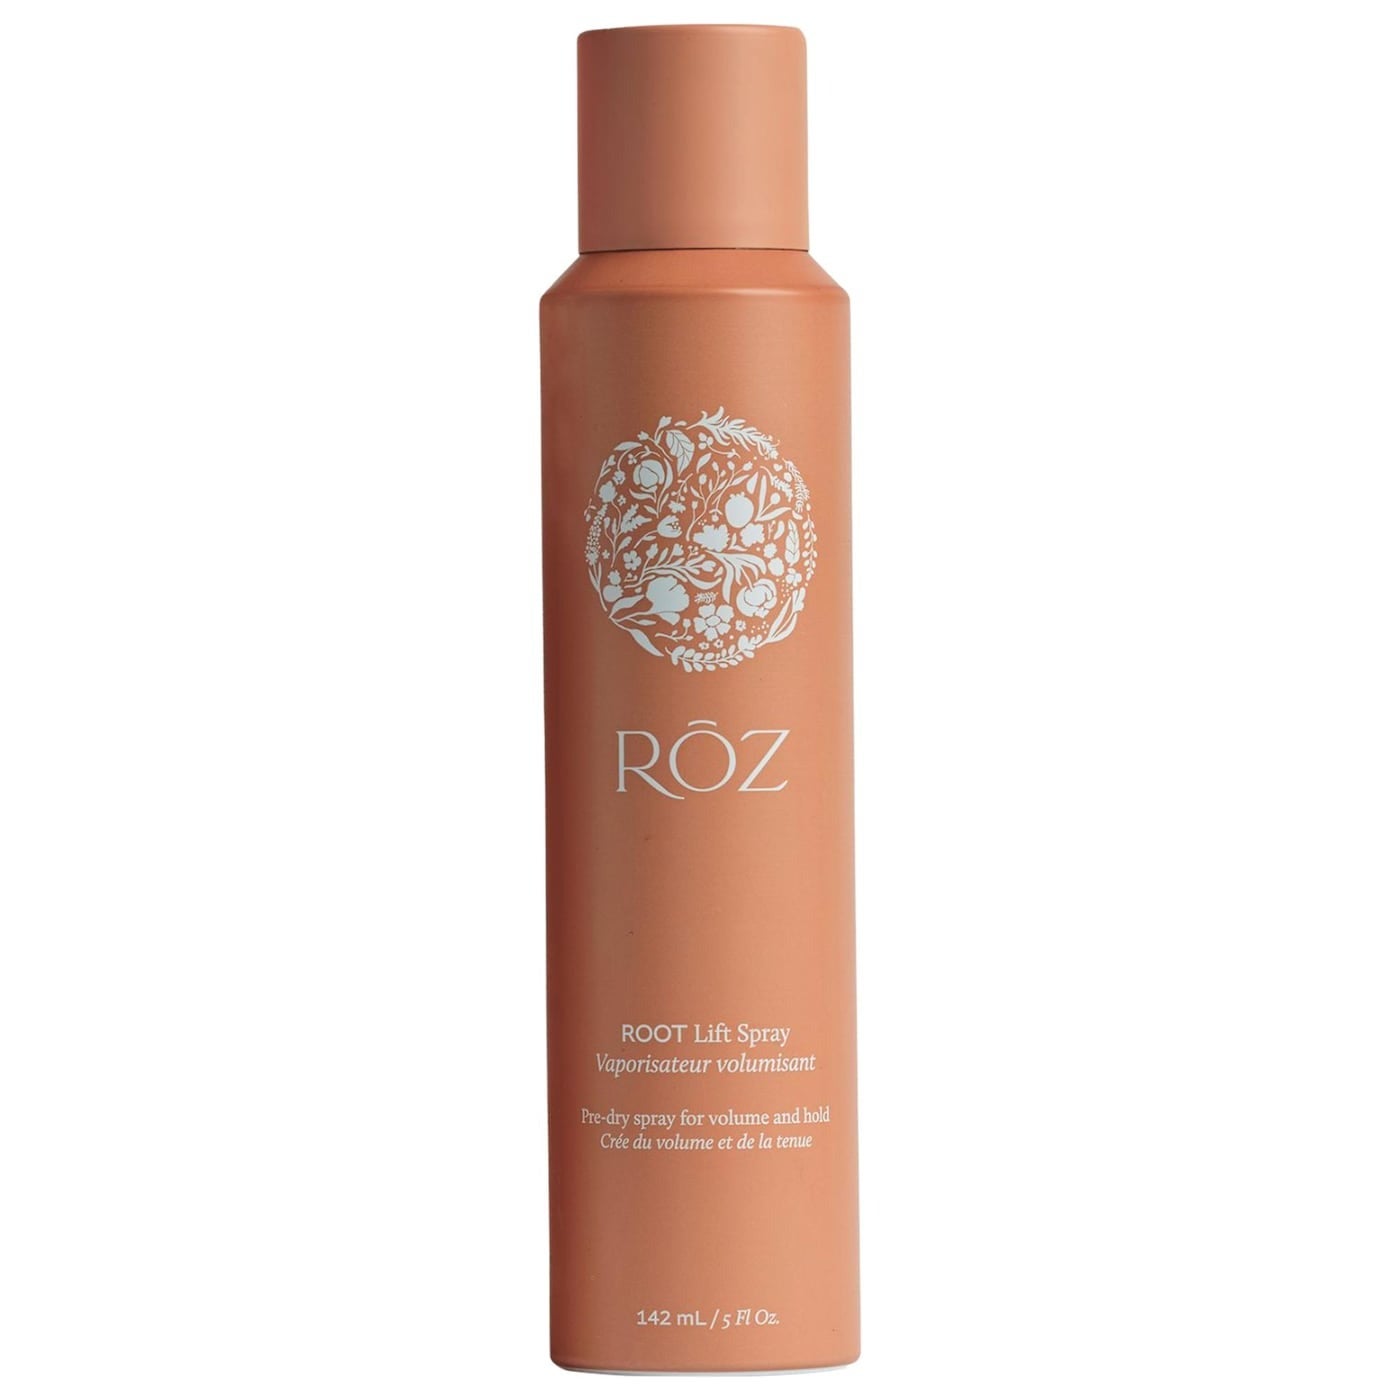
When it comes to styling, Ade recommends a less-is-more approach. He advises that a common mistake that people with fine hair make is overloading it with product, which ends up weighing it down rather than imparting the volume you’re seeking. To add long-lasting texture to my naturally sleek strands, my go-to on wet hair is a volumizing hairstyling spray. Try RŌZ Root Lift Volumizing Hair Styling Spray, $42. I spritz this liberally and blow-dry it into my hair to make it soft but tousled. When I do end up reaching for my curling iron, it makes a big difference to how long curls last.
AdvertisementADVERTISEMENT
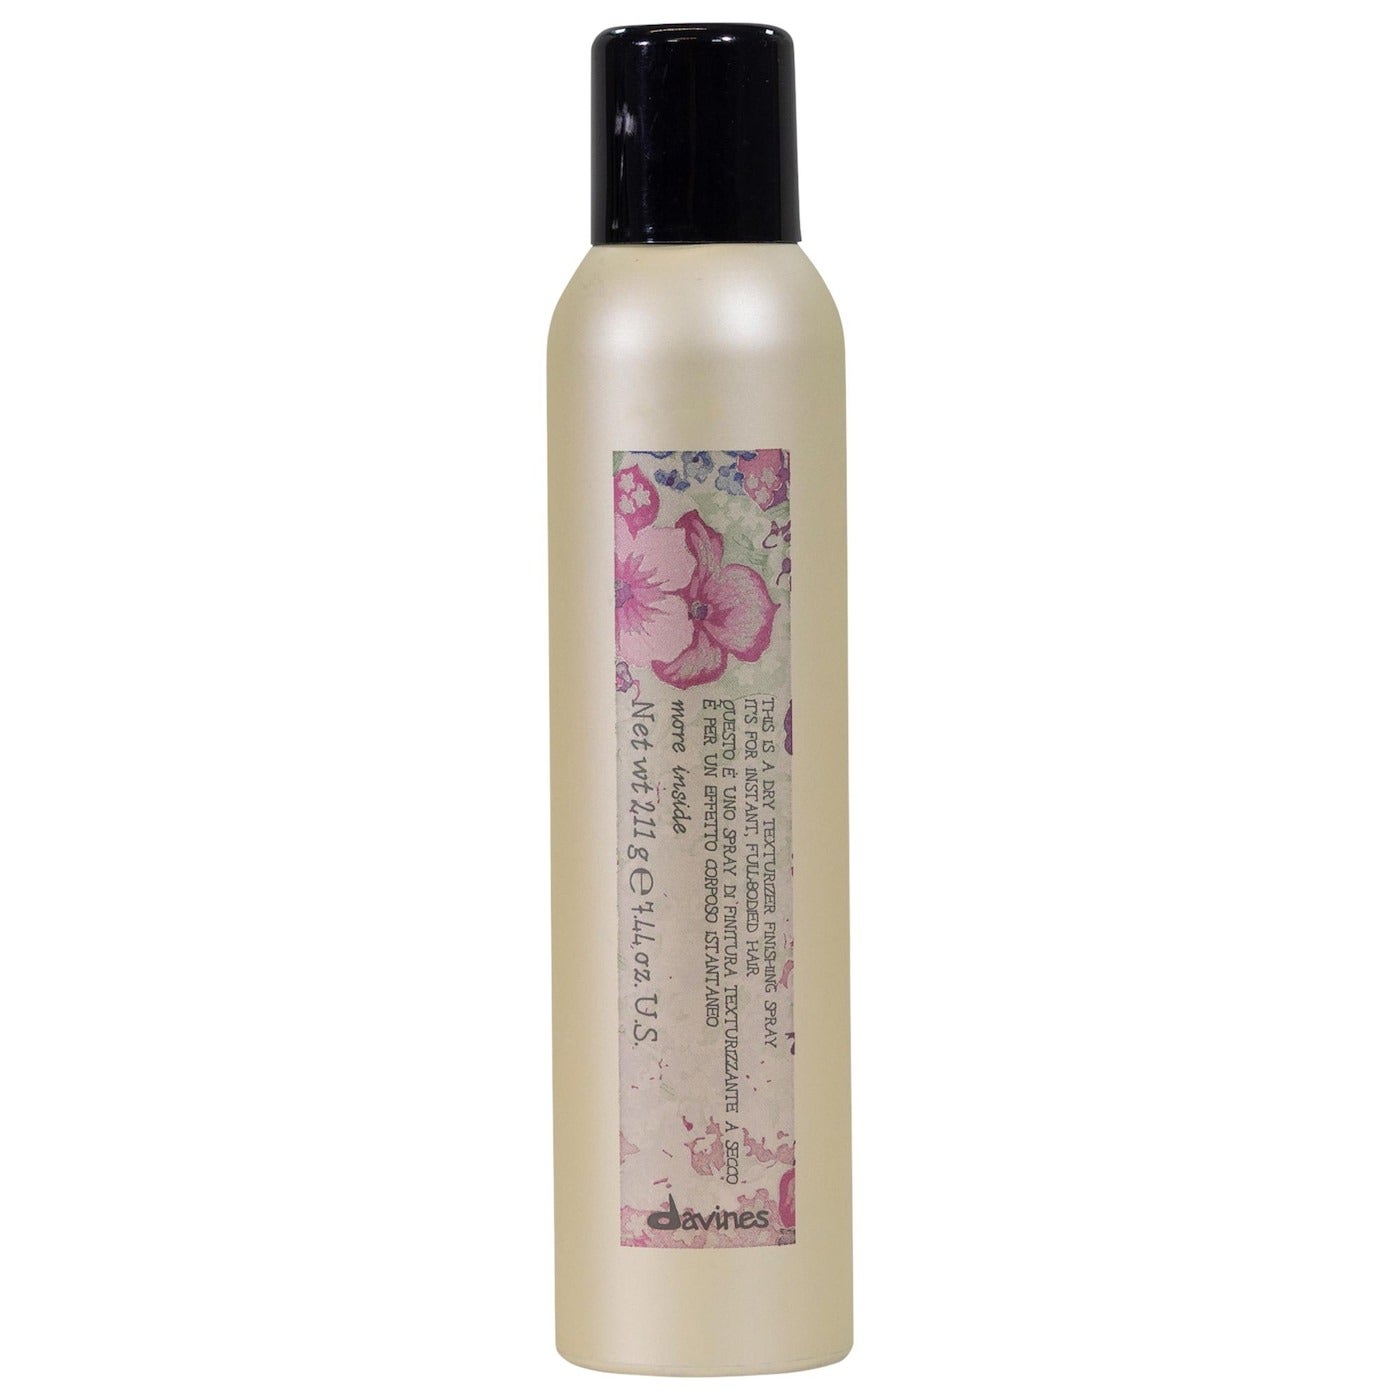
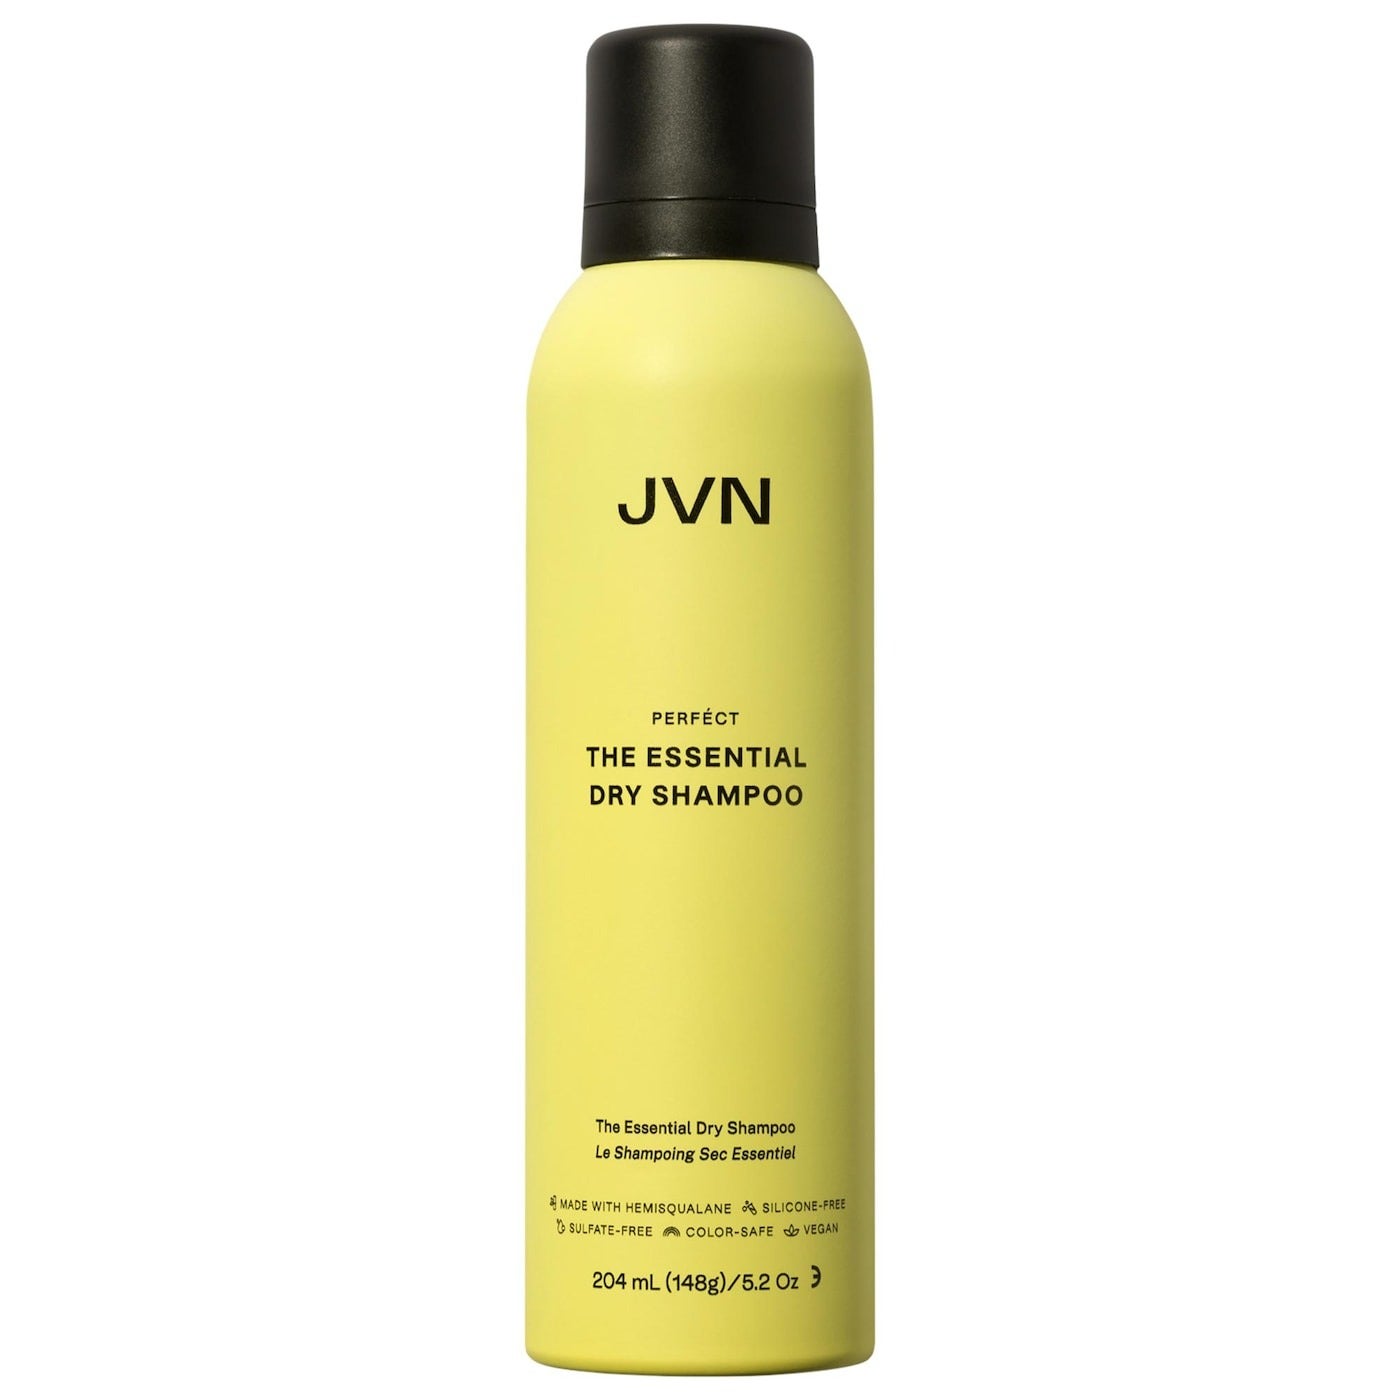

If I don’t have time to wash my hair, I always reach for the Davines This is a Dry Texturizing Finishing Spray, $44. Not only does this smell incredible, but it affords me that effortless textured effect Ade created with his hands. I like to use it in place of hairspray as it holds any style I’ve created really well. When I’m between washes, dry shampoo is a staple — both before and after my thickening haircut. Lately, I’ve been reaching for JVN The Essential Dry Shampoo, $28. It’s more expensive than I’d like, but the clear mist leaves no white cast or residue, and transforms three-day-old hair from greasy to fresh without water.
Lastly, Ade recommends a top-up cut to his creation every three months, and given how well it turned out for me — both in the salon and beyond — I’ll certainly stick to it for fuller, thicker-looking hair.
This story was originally published on Refinery29 UK.
AdvertisementADVERTISEMENT