


These $16 Gel Nail Strips Are Simply Too Good To Gatekeep
All linked products are independently selected by our editors. If you purchase any of these products, we may earn a commission.
Photo: Courtesy of Karina Hoshikawa.
As I’m typing this, I can’t stop looking at my fingers gliding over the keyboard. Each nail is glossed to perfection (some even have dazzling glitter) in a gradient of luminous sunset tones. And the best part: I did them all by myself.
I’ve dabbled in the trend of at-home gel — and have proved quite capable with a lamp and solid polishes. But when it comes to nail art, I’m no artist. I love press-ons for gorgeous designs with zero dry time, but I struggle to keep them on for more than a few days. That’s where Ohora’s gel nail strips come in. (I’m wearing the Carmel set here.)
AdvertisementADVERTISEMENT
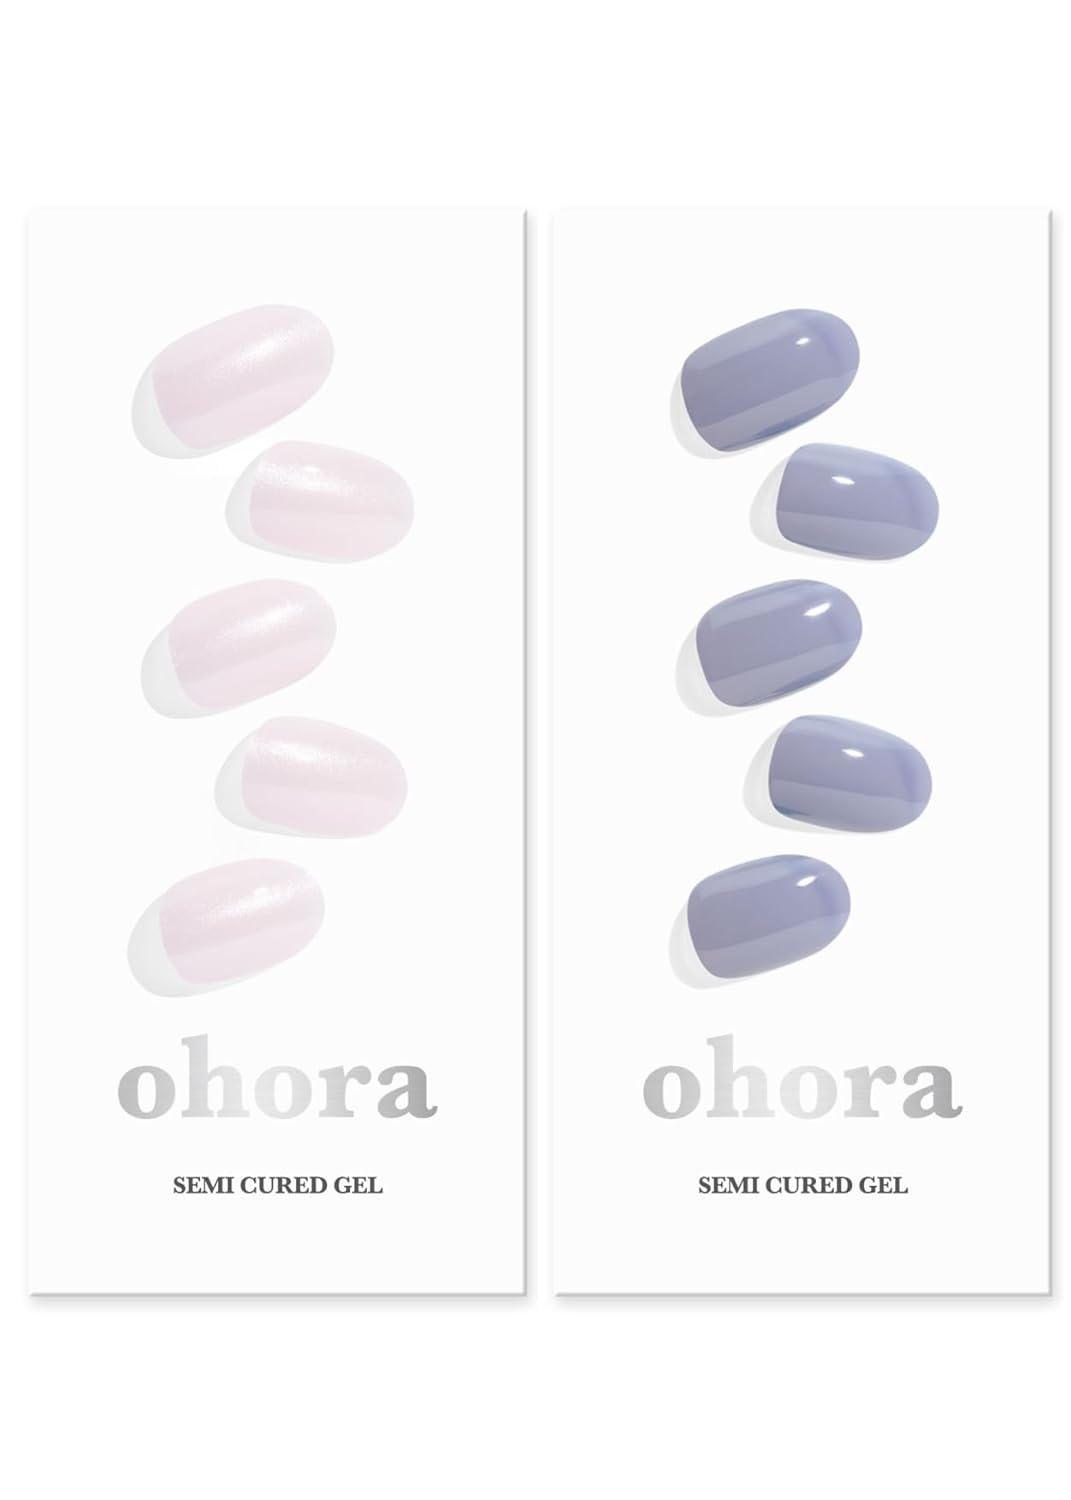
If you’re old enough to remember nail wraps (basically, nail polish sticker sheets that you could apply directly to the nail and set with any top coat), Ohora’s strips work in a similar way. The K-beauty brand makes its strips from a semi-cured gel that finishes curing under a UV lamp. I actually discovered them at a drugstore in Japan, but was delighted to find them online at the brand’s Amazon storefront for $16 per set. (Great news for my nails, bad news for my wallet.)
Photo: Courtesy of Karina Hoshikawa.
Ohora offers a wide variety of solid and nail art designs (including ones for your toes), plus seasonal options for the holidays, Valentine’s Day, and more. Each pack comes with 28 gel strips in various sizes. (I usually get two manicures per box before running out of sizes that fit my nails.) Since the nails are on clear sheets, you can visually “try on” which size fits best by holding it above your hand. Before starting, prep nails with the included pad (or, once you run out, I also love Dazzle Dry’s Nail Prep on a lint-free cotton pad) to remove oil from the nail surface.
Photo: Courtesy of Karina Hoshikawa
Now for the fun part: If I’m not doing a solid color, I plan out my accent nail(s) accordingly and start with my left hand (I’m right-handed), beginning with the pinkies and working my way to the thumb. Doing it in this order helps avoid sticking nails together since the strips are longer than my natural length. After making sure each strip is evenly adhered, it’s time to finesse the shape. I like to follow a general rule of clipping 90% of the excess length and filing 10%, using downward strokes across the free edge to help it seal. I used my trusty SUNUV UV3 lamp and cured my nails for two minutes. (I tried 60 seconds for the first time and it wasn’t enough.) Repeat the same steps on your other hand, and voilà, your mani is done!Now this last step is optional, but I highly recommend sealing your work with a gel top coat (I use this one from Amazon) for that hyper-glossy shine and extra protection against wear and tear. To give you a peek behind the curtain, I did this mani on Wednesday, I’m writing this article on a Monday, and my nails still look perfect. As in, not-a-single-chip perfect. And mind you, I’m gearing up for a cross-country move and spent the weekend packing boxes and cleaning every inch of my apartment. I did dishes, laundry, cooked, worked out… and they’ve held up impressively well. If that’s not a stress test, I’m not sure what is.

AdvertisementADVERTISEMENT