


Daisy Nail Art Is Trending — & We Have The Easiest Step-By-Step Tutorial
Photo: Christian Vierig/Getty Images.
If there was a perfect time to finally teach yourself how to do your own nail art, it's May in quarantine. With nail salons shut down and spring flowers in full bloom, professional artists and content creators have taken to Instagram to bring inspiration to your fingertips in the form of the daisy print manicure.
In addition to being adorable, daisy-print nail art is easy to freehand, even for a nail-art novice. You can create the design using whatever polish you have lying around and have your own photo-ready manicure in under an hour. For proof, we had professional manicurist Liz Lomeli from L.A.'s Color Camp salon break down her step-by-step process for executing the DIY daisy-print manicure. Her guide, ahead.
AdvertisementADVERTISEMENT
The Setup
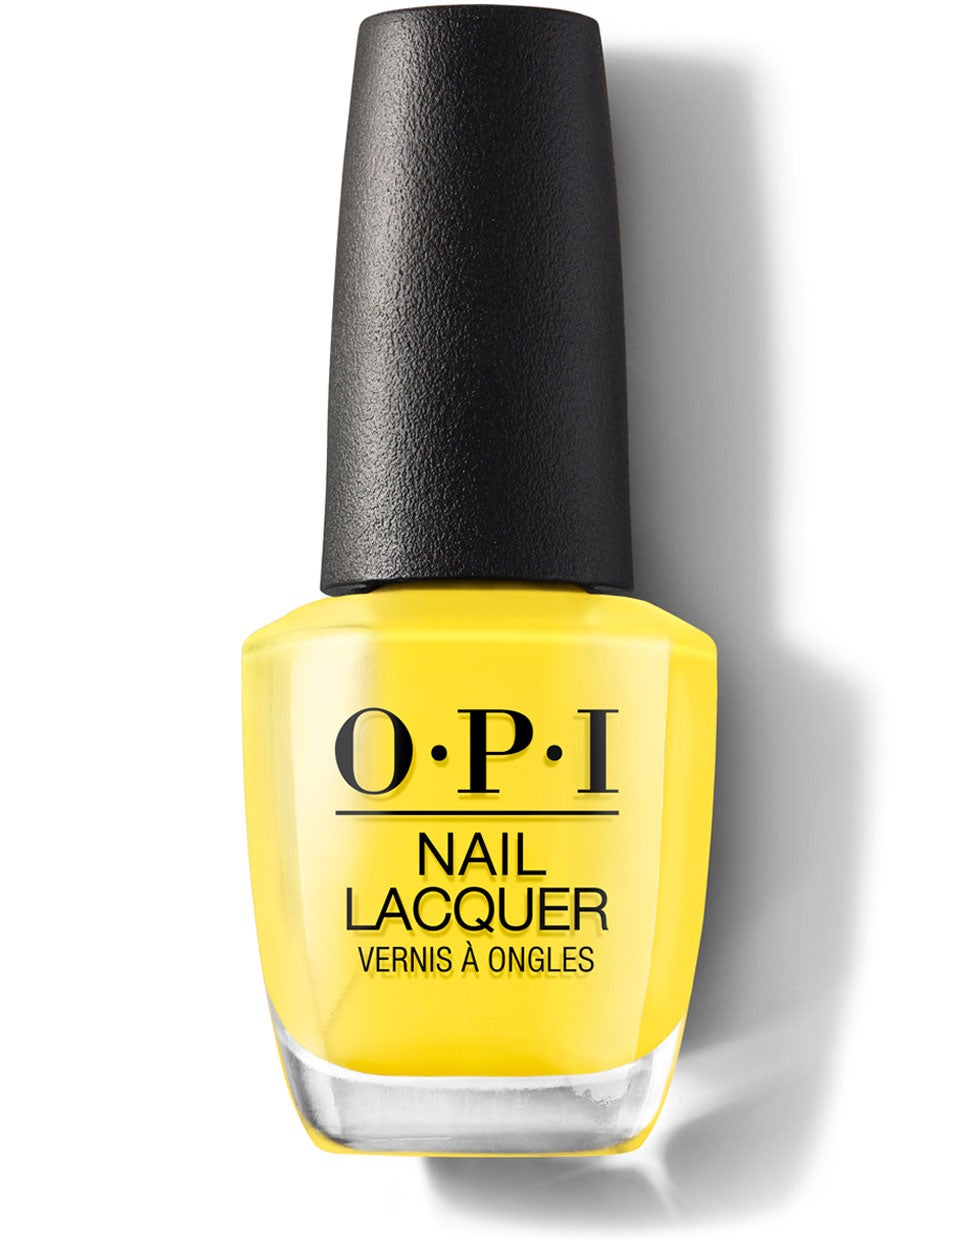
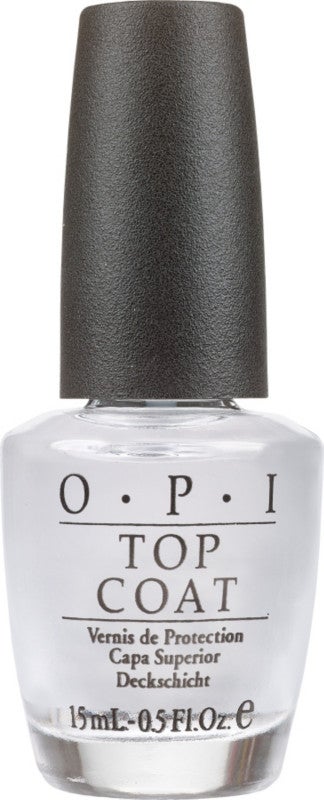
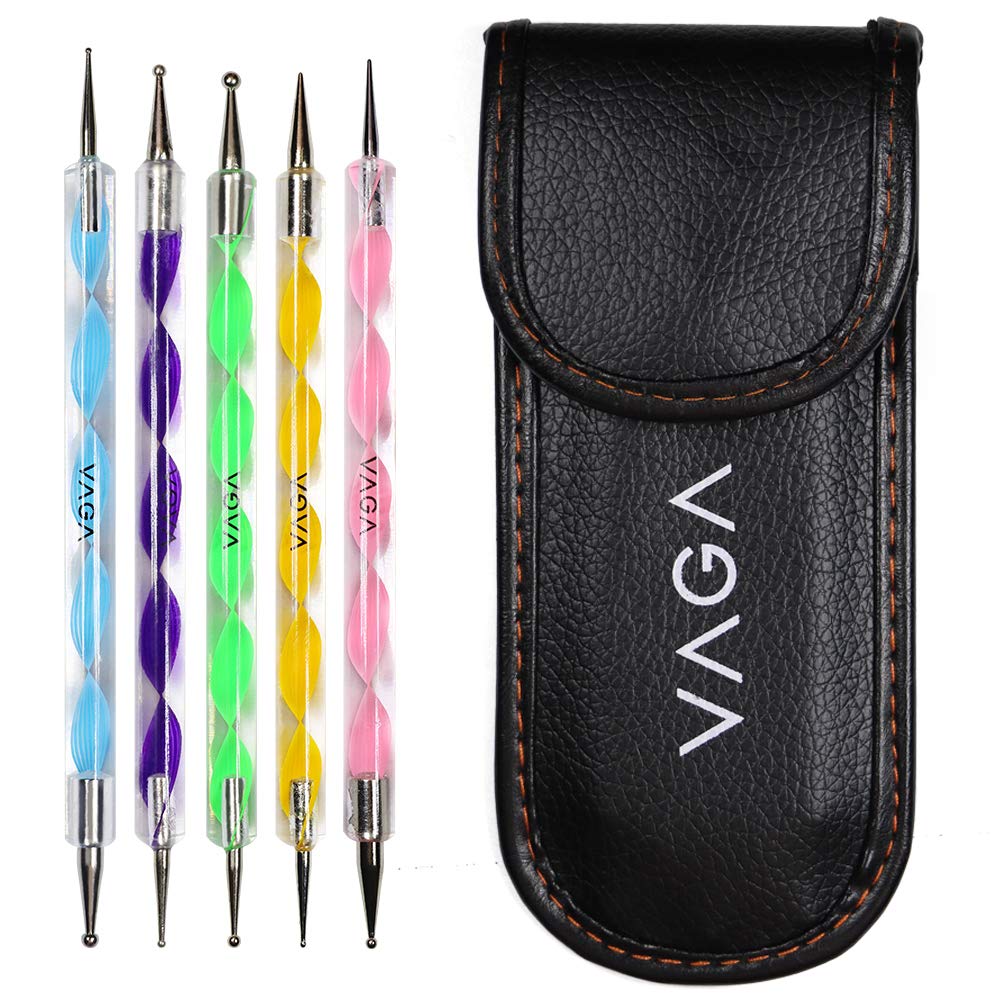
You can create your daisy print using any color scheme you like, but Lomeli recommends having four polishes on hand: a white and a yellow for the traditional daisy tones, a third shade like orange as a base, and a clear top coat to finish. For tools, you'll need a toothpick, a rounded metal dotter, and a piece of aluminum foil as a mixing palette.
Photo: Courtesy of Liz Lomeli.


To reduce your margin of error, it's easiest to make your daisy print an accent on just one or two nails as opposed to your full five on each hand (at least for your first try). "Start by painting three nails on each hand a solid orange, leaving two nails on each hand bare as the canvas for the daisy print," Lomeli says. "Once your base is dry, you'll want to pour your three colored polishes onto your aluminum foil and grab your dotting tool for the art."
The Design
The simplest daisy design starts with six petals of the same shade dotted in a circle, with a different-color "bud" in the center. "Start off with your petals," Lomeli instructs. "Using your dotting tool, pick up your white polish and start your petal from the outside, painting towards the center of your flower. Repeat this step in a circle for every petal — usually six is enough — then wipe off your dotting tool, pick up your yellow polish, and dot it right in the middle."
Photo: Courtesy of Liz Lomeli.
You can get creative with the colorways, repeating the same dotting pattern using the yellow polish for petals with an orange-dotted center, or an orange daisy with a white center — and don't stress about perfection. "Different-sized flowers give some dimension to the nail, so don’t worry if your flowers aren’t perfectly even," Lomeli says. "Just repeat until you’ve used all of your colors, or until you’ve run out of nail space. If you have extra bare nail space that's not big enough for another daisy flower, you can use a toothpick to draw tiny dots as a fun little accent. Then let your nails dry completely and add your top coat."
AdvertisementADVERTISEMENT
The Final Look
Photo: Courtesy of Liz Lomeli.
If you follow Lomeli's instructions, your nails should shape up something like the final design, above. Once you've got the daisy-print technique down and want to try a different spin, Instagram is full of inspiration.
Here, NYC-based influencer Tiffany M. Battle created a chic daisy manicure using a chartreuse green base, daisies dotted with cream-colored petals, and a navy blue center.
Get creative with a rainbow bouquet dotted over a naked nail, like nail pro and brand founder Jin Soon Choi.
If you're looking for a floral manicure but can't be bothered with polish and a dotter, you can grab daisy stickers from Olive & June, which is how beauty and fashion writer Sara Tan achieved this look.
AdvertisementADVERTISEMENT