


DIY Wrapping Paper For Those Gifts That Deserve More
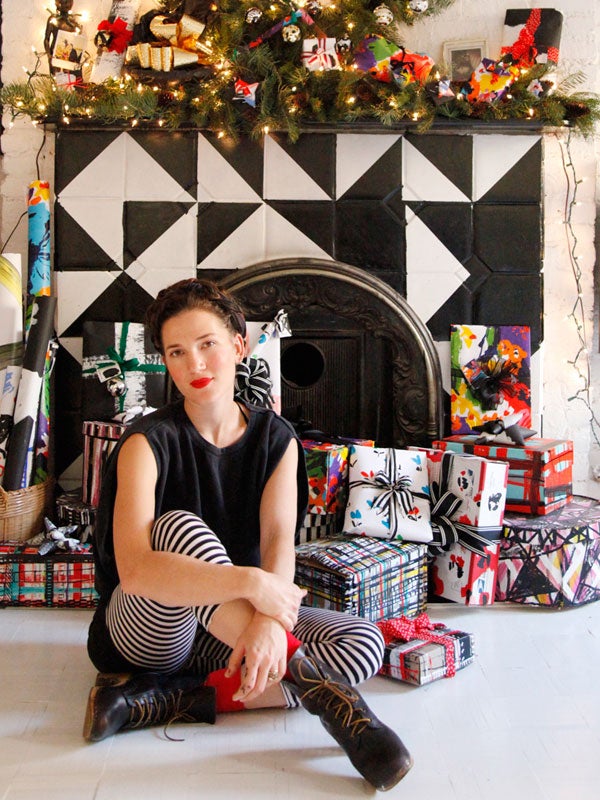
You spend so long deciding what goes inside of a gift box that it'd be a shame to lose steam now. There's nothing as bah-humbug-y as getting a gift "wrapped" in the bag it came in. So, to get your gifts present perfect, we called upon one of our favorite artists, Francesca DiMattio, to show us how to make our own wrapping paper and ribbon, customize cardboard boxes, and make a paper bow.
Says DiMattio, "Wrapping presents is all about designing a buildup for a fleeting moment. You get all excited, take it all apart, and at the end, it's just a pile of garbage. But it's so much fun." Amen, sister. Ahead, check out her three wrapping DIYs.
AdvertisementADVERTISEMENT
You will need:
A roll of white drawing paper or brown craft paper
Cardboard boxes
Heavy-body acrylic paint
Double-sided tape and colored tape from an art store
A variety of brushes in different shapes and sizes
An old magazine to mix your paints on
Fabric scraps
Click through to see all the different wrapping papers we made!

For the first, we'll learn how to make this spotted, paint-splattered print.

Step 1: To begin, roll out your paper and cut to your desired length.

Step 2: Use your tape to secure it to your floor or table.

Step 3: Use an old magazine for a palette and squeeze out the paint you'll be using onto it.

Step 4: You'll want to use a round pointed brush to make a polka-dot pattern. Make dots in whichever pattern you'd like, organized or chaotic, tidy or messy.

Step 5: After the paper has dried, cut the paper and wrap your gift normally.

Step 6: I like to use colored artist tape, so the tape becomes part of the wrapping.

Step 7: Next, take an item of clothing you don't wear. Look for interesting texture, color, or pattern. Cotton works but satin, silks, and even wool can be nice, too.

Step 8: Take your scissors and begin cutting a ribbon. Don't worry about a jagged edge but try to keep the width consistent.

Step 9: Wrap the present with the ribbon.

Step 10: When you are finished, cut the ends of the ribbon at a sharp angle to give it a finished edge.

Step 11: Use one of the smaller paper scraps to make a card.

Et voilà!

This DIY shows you how to use a cardboard box to wrap your gift. This design will require a bit more artistry, but don't worry — you've got it!

Step 1: Use a thick flat brush to paint a long stripe. Don't forget to carry the pattern around all sides of the box.

Step 2: Use a smaller-sized brush to make a perpendicular line.

Step 3: ...And now an even smaller brush for detailed spotted lines and hatch marks!

Step 4: You can continue building up this pattern to make a very dense plaid or keep it sparse, like this one.

Step 5: Wait for each color to dry before adding a new one.

Can't stop, won't stop!

Step 6: Wait for your box to dry.

Step 7: Grab an old scarf to cut up.

Step 8: Use it to tie around your gift.
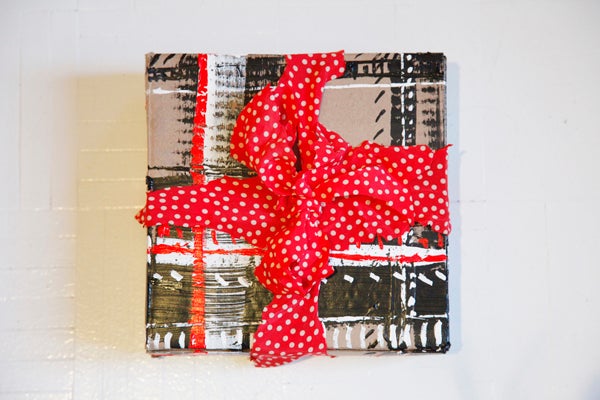
Ta-da!

Lastly, I'll show you how to make a paper bow using the leftover scraps of wrapping paper.

Step 1: Squeeze out the colors you'll need. Think: colorful!

Step 2: Paint large and small flowers all over a sheet of white and use black to outline and accent your rosettes. Remember to wait for each color to dry before adding the next. Patience can sometimes be the hardest step to master!

Step 3: Wrap your gift.

Step 4: With a leftover piece of paper, take your scissors and double-stick tape to prepare to make your paper bow. You can use different patterned paper or simply white or black, but I chose to do flower on flower here.

Step 5: Cut the paper into eight strips about 1 1/2" wide. The width determines how big the points of the bow will be, so if you want it smaller, make it smaller — just remember to be consistent.

Step 6: Take one strip in your hand...

Step 7: ...and roll it around to make a point.

Step 8: Cut the remainder of the strip off and, using double-sided tape, secure the rolled paper to itself so it stays in place. Attach to the gift.

Step 9: Continue adding the points until you've made a five (or six, or seven, or eight!) pointed star. Add another layer on top of the first if you're so inclined!

And, here you are!
AdvertisementADVERTISEMENT