At Refinery29 Australia, we’re here to help you navigate this overwhelming world of stuff. All of our picks are independently selected and curated by the editorial team, but we may earn commission or other compensation from the links on this page.
When friends ask me how to achieve a professional-looking manicure at home with little skill or without spending a tonne of money, I’m typically stumped. We know the only true, pro manicure you can get is one in a nail salon. But since discovering semi-cured gel nail wraps, you’ll find me gleefully telling them that I have a foolproof solution.
AdvertisementADVERTISEMENT
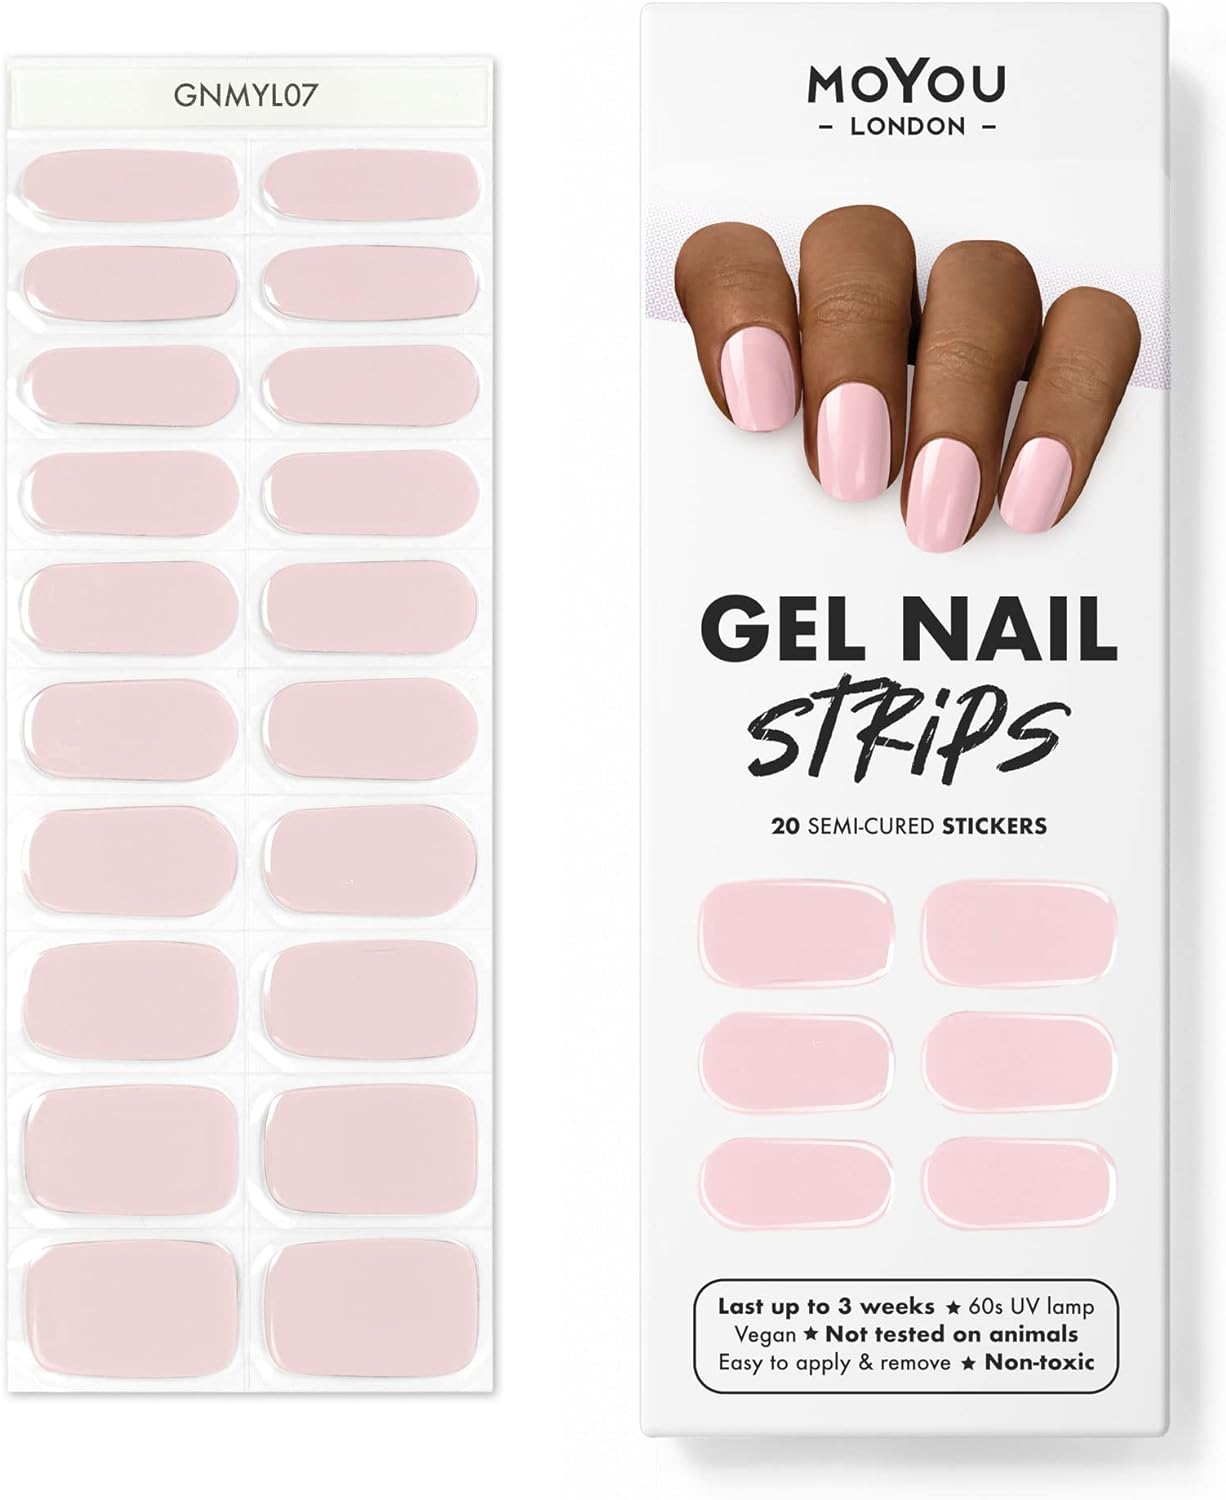
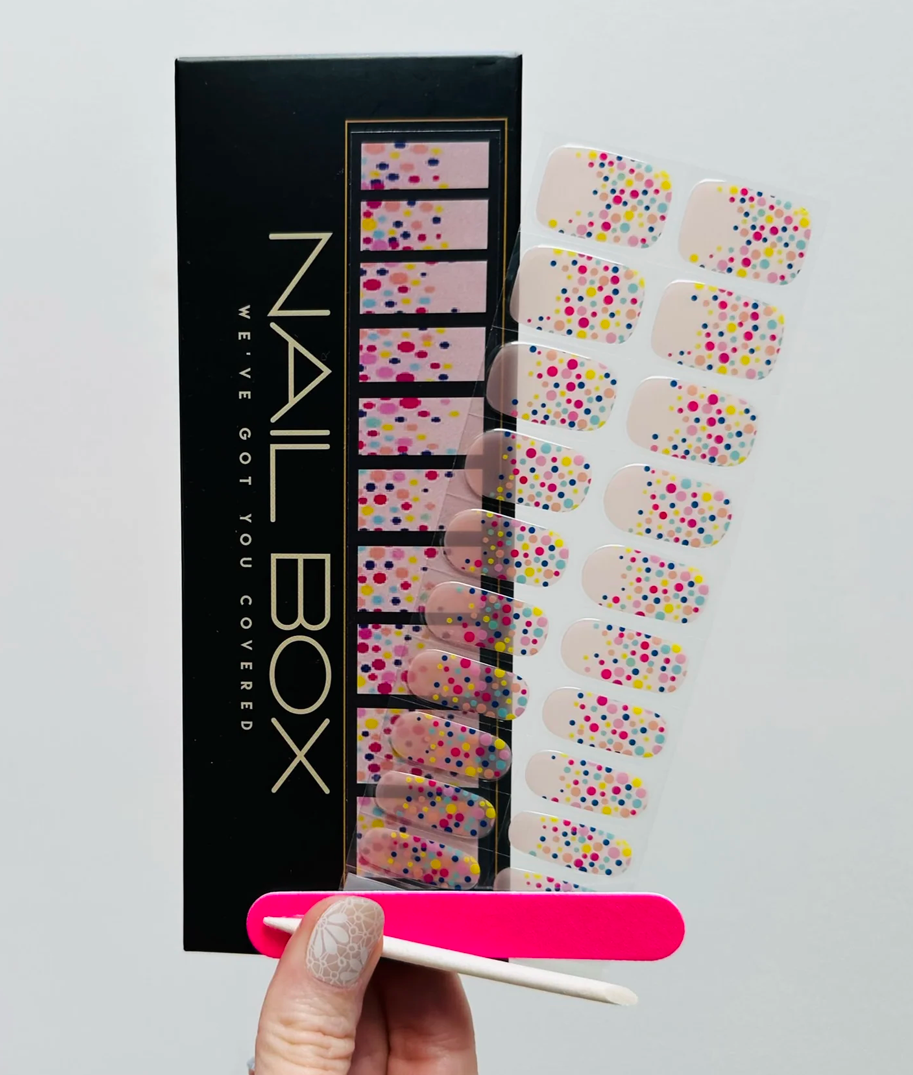
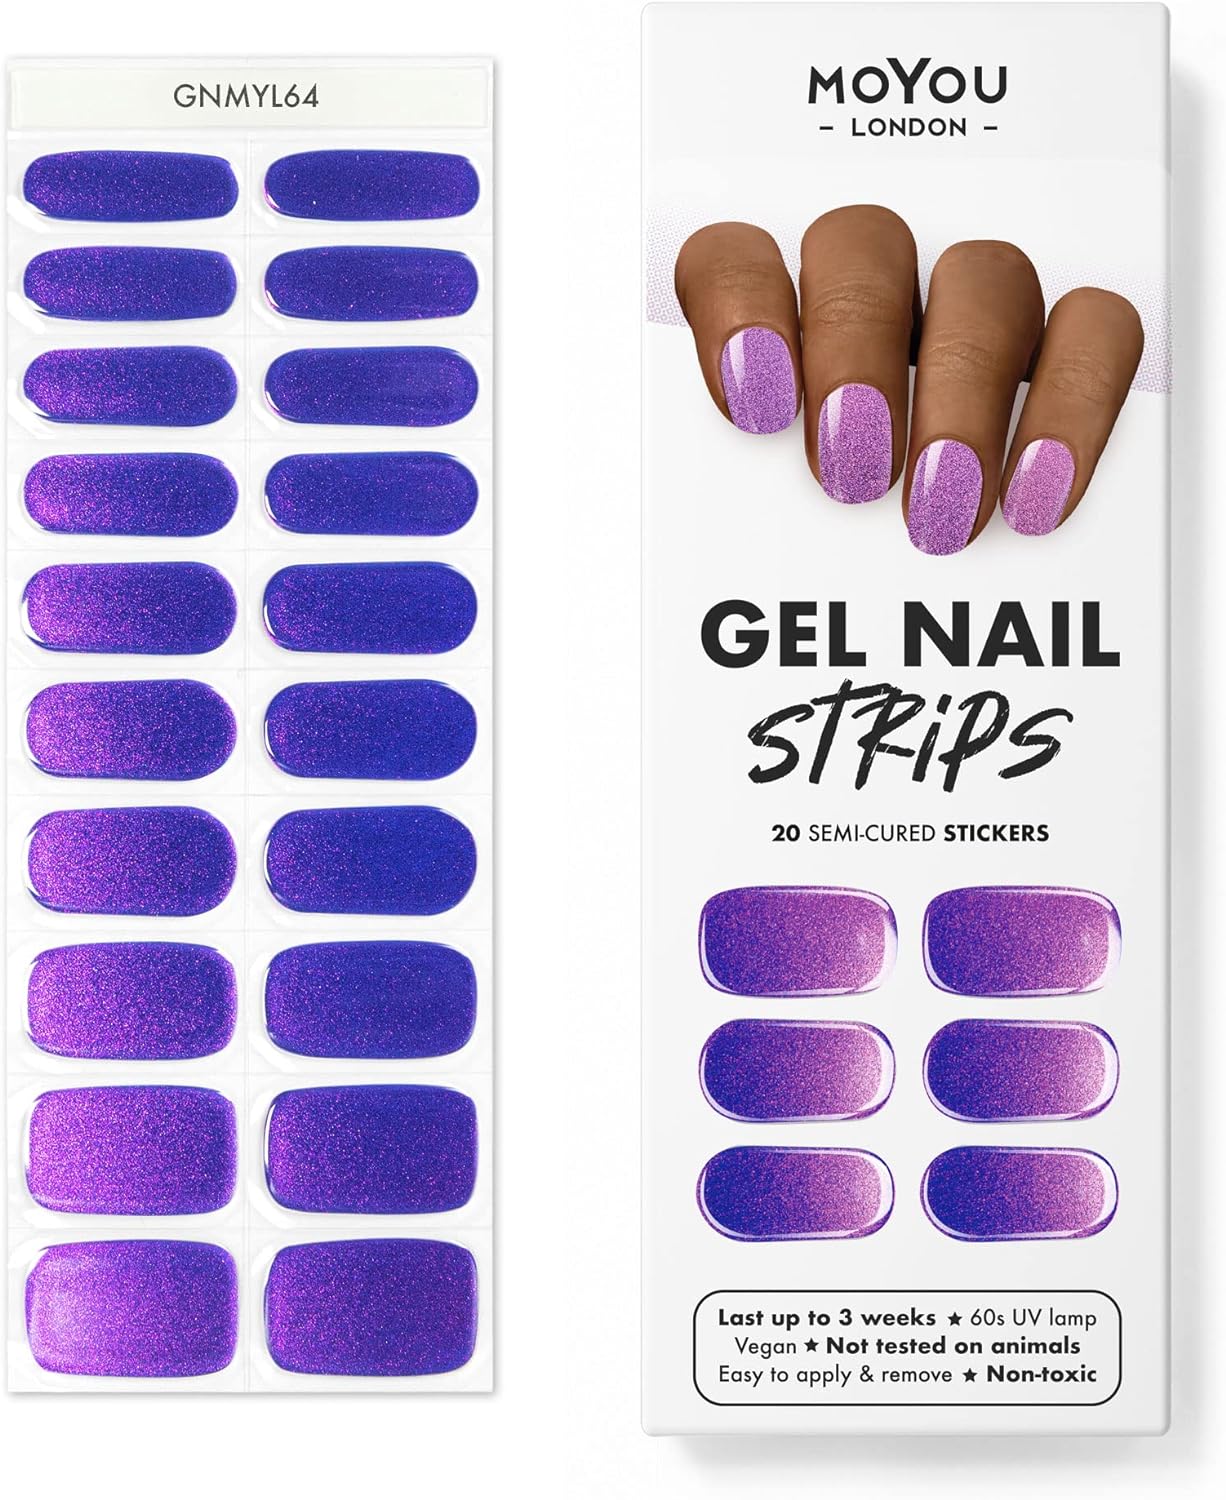
Semi-cured nail wraps aren’t particularly new, but thanks to TikTok, they’re gaining popularity fast. The phrase “semi cured gel nails UK” has an enormous 440.6 million views, while the hashtag #gelnailwraps has 202.4 million. As the name suggests, they’re nail wraps made from gel polish that has been semi-cured. They come in a pliable sticker wrap, meaning zero painting is involved; all you need to do is peel, stick and cure under UV light. If you love the glossy look of a gel manicure but have limited skill on the painting front, then this might just be your ideal solution.
@simlynail Love how these turned out🥰 Using gel nail strips by MoYou London✨ *gifted #gelnails #nailtutorial #nailsathome ♬ reflections - sped up - letain
What are semi-cured gel nail wraps?
Semi-cured gel nail wraps — also called “UV gel nail strips” or simply “gel nail wraps” — are exactly as they sound. Made from gel polish, they’re a type of sticker that wraps around the entire natural nail. Since nail polish is a liquid, being available in a semi-cured form means they’re completely dry but still pliable enough that they can be wrapped and stretched to fit the nail shape. They are then cured under a UV lamp to create that solid gel structure on the nail.
“Like press-on false nails, gel nail strips come in various lengths and sizes which can be trimmed for the perfect fit before the final curing process to adhere and set the product,” explains session manicurist Ami Streets.
AdvertisementADVERTISEMENT
@sloan.byrd no time for the nail salon? no problem! i love using @Dashing Diva USA’s Glaze Semi-Cured Gel Nail Strips for an affordable, salon quality gel manicure 💅🏽✨🤍 #dashingdivapartner ♬ Sweet Sunset - Tollan Kim & dulai
How do semi-cured gel wraps compare to regular gels?
Semi-cured gel nail wraps differ from regular gels as they’re not liquid and don’t need to be painted on. This is a great solution for people who love the longevity and shine of a gel manicure but don’t have the time or budget for regular in-salon manicures, nor the equipment (and know-how!) to do them at home.
This also means that, for DIYers, they are typically safer than regular gels. While gels themselves aren’t “unsafe”, improper use of them (getting polish on the skin and not curing it correctly) can lead to irritation and allergies. With gel nail wraps, there is no exposure to gel formulas that require being painted onto the nail, says Streets. For this reason, these wraps, which have already been cured, are a great alternative. Having said that, if you do already have an allergy to ingredients like hydroxyethyl methacrylate (HEMA), you’ll want to check that the nail wraps won’t cause further irritation.
@nailboo Gel nail strip tutorial for quick and easy mani 💙#gelnailstrips #gelnailart #nailstyle #gelnailsathome #howtonails #gelnailwrap #semicuredgelnails ♬ could you be loveddd - sophi
What are the benefits of gel nail wraps?
There are so many benefits of semi-cured nail wraps. The first being that “they’re quick and easy to apply with zero mess,” says Streets. Once you get the knack, wraps can be done very quickly and even on the go (there’s no smell to annoy others on your train carriage).
As mentioned earlier, another great benefit for those who love an at-home manicure is that there isn’t a risk of causing unintentional irritation with wraps. It’s far more straightforward and there’s no uncured liquid to deal with. Streets says that not only is it cost efficient for many, but it’s also more user friendly and suitable as a DIY treatment compared with traditional gel and builder in a bottle products.
AdvertisementADVERTISEMENT
The finish is a fairly long-lasting, ultra-shiny manicure that protects the natural nail well, mimicking a gel manicure. Streets also notes that it’s a really fun way to experiment with lots of patterns and prints.
What are the downsides of gel nail wraps?
The main downside is that it takes some practice to begin with, especially when it comes to smoothing down air bubbles that can occur when sticking the wrap down. Streets notes another limitation is that you aren’t able to make “amendments, additions or infills with this type of nail enhancement, unlike classic gel colour or builder gel.” This means you’ll need a new set every time the gel colour chips or grows out.
“The wear time can also be less than typical gel polish — which can be up to three weeks if applied and maintained correctly. Expect a gel nail wrap to last around 14 days,” Streets explains. If you regularly wear cuticle oil (congrats!) then you’ll need to check brand guidelines before applying while wearing wraps. Some recommend cuticle oil daily, though others use oil as a method of removal. If the brand advises against cuticle oil while wearing gel nail wraps, Streets recommends sticking to a cream-based product to maintain hand and nail hydration.
Overall, while you won’t get the same result as a meticulously painted in-salon gel manicure, it gets pretty close with no nail painting abilities necessary.
@ashleymarieblog @gellydrops_official semi-cured gel nail tutorial! Get the perfect at-home gel nail manicure every time with GellyDrops nails 💅🏻💗 #gellydrops #semicuredgelstrips #diygelnails ♬ original sound - Ashley Marie✨
How do you apply UV gel nail wraps?
Your first port of call is to lay all of your equipment out in front of you: the wraps, alcohol/acetone pad, orangewood stick, nail file and UV lamp — the latter of which usually comes alongside gel nail wraps if you’re purchasing a kit. Make sure you remove any existing nail polish and wipe your nails down with acetone to dissolve any grease or residue from the nail plate.
AdvertisementADVERTISEMENT
Next, you’ll need to size the strips to your nails (go slightly bigger than you think) and apply the nail wrap to your nail starting from the base and working upwards. Be sure to smooth out any air bubbles as you reach the tip of your nail. Trim any excess nail wrap at the tip of your nail using small nail scissors and then cure under your UV lamp for the recommended time. Use a nail file to smooth your nail’s free edge and you’re done.
If you don’t want the added step of using the UV lamp to finish off curing at home, you can choose another type of wrap, which is a fully cured gel nail sticker. Glaize is the leading brand for this and though the brand doesn't currently ship to Australia, it promises to soon.
How do you remove semi-cured gel nail wraps?
Even better than the ease of application of nail wraps is the removal process. For the most part, there’s no laborious filing and soaking needed. The majority of nail wraps can be lifted off with an orangewood stick since it’s essentially an adhesive sticker on your natural nail versus the gel product itself (which should never be peeled off).
Others do require an oil- or acetone-based product to remove, though, so it’s worth checking ahead of application. In any case, it’s important to remove gel nail wraps with care. “Depending on the strength of the adhesive, this could potentially cause some damage to the nails,” says Streets. Make sure you’re being as gentle as possible and if in doubt, she notes to soak in an acetone-based remover. Lastly, always follow gel wrap removal with some cuticle and hand care, like a deeply hydrating hand cream. Your nails will thank you for it.
Want more? Get Refinery29 Australia’s best stories delivered to your inbox each week. Sign up here!


