

With all the jewel-encrusted sportswear on the fall runways, it was hard not to get excited. Seriously — sweatpants, anoraks, leggings, and sneakers that shined in the sun? Sounds like a dream. Naturally, while everyone else was dreaming, we were scheming. Always up for a challenge, we experimented with techniques, scoured for the best materials (sew-on gems are amazing and not a pain to apply — who knew?!), and came out with a piece of clothing so awesome, we've worn it nearly every day since we made it. For our take on this fancy-pants cover-up, grab a handful of gems, a needle and thread, and the most comfy sweatshirt you can find. After all, trends may come and go, but we'll never grow tired of the happy combo of comfort and bling.
AdvertisementADVERTISEMENT

To make this epic embellishment with epic success, you'll need:
A soft pullover sweatshirt
Four sizes and shapes of the same colored gem
Gray thread
A needle
Scissors
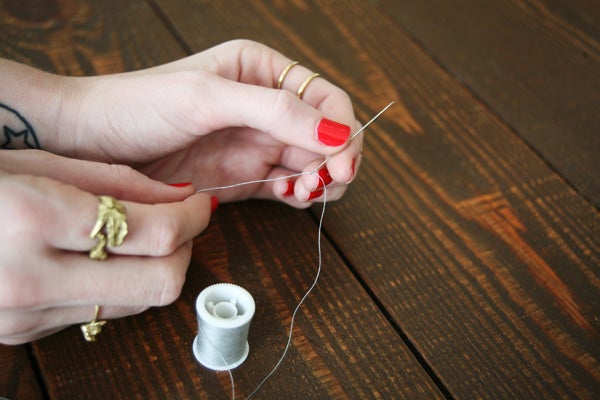
Step 1: Thread your needle with about 12 inches of thread and tie in a secure, large knot.

Step 2: Place your largest-sized gem at the intersection of the shoulder seam and the arm. Sew the gem onto the sweatshirt.

Step 3: Sew the large gems along the arm seam. Precise DIYers may have to tie off and rethread your needle each time you sew on a gem, but we took a shortcut and just used one piece of thread for the entire job — if you do so, as well, make sure you're hiding the thread between gems on the inside of the sweatshirt.

Step 4: Moving toward the middle of the sweatshirt, place and sew on your next two sizes of gems. Make sure you keep an even amount of space between each one.

Step 5: Once the first three layers of gems are sewn on, use your smallest gem (we used teardrops) on the other side of the armhole.

Step 6: Once the first side is complete, follow steps one through five on the opposite sleeve.

Step 7: Finally, continue the pattern on the back of the sweatshirt, so your entire shoulder will be decked out in shine.
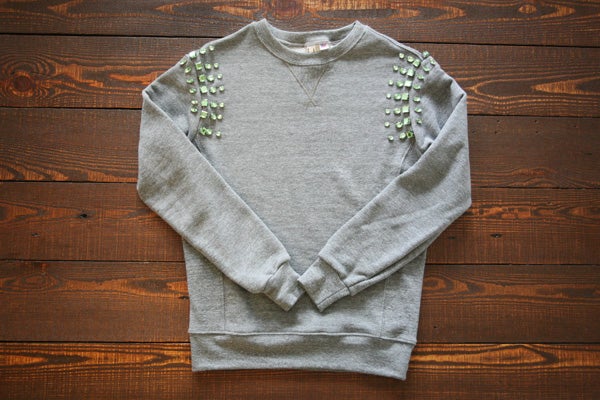
Style and enjoy your chic new take on classic comfort.